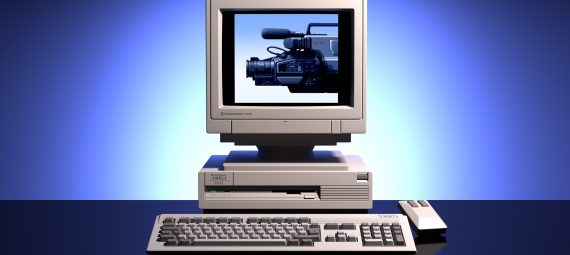
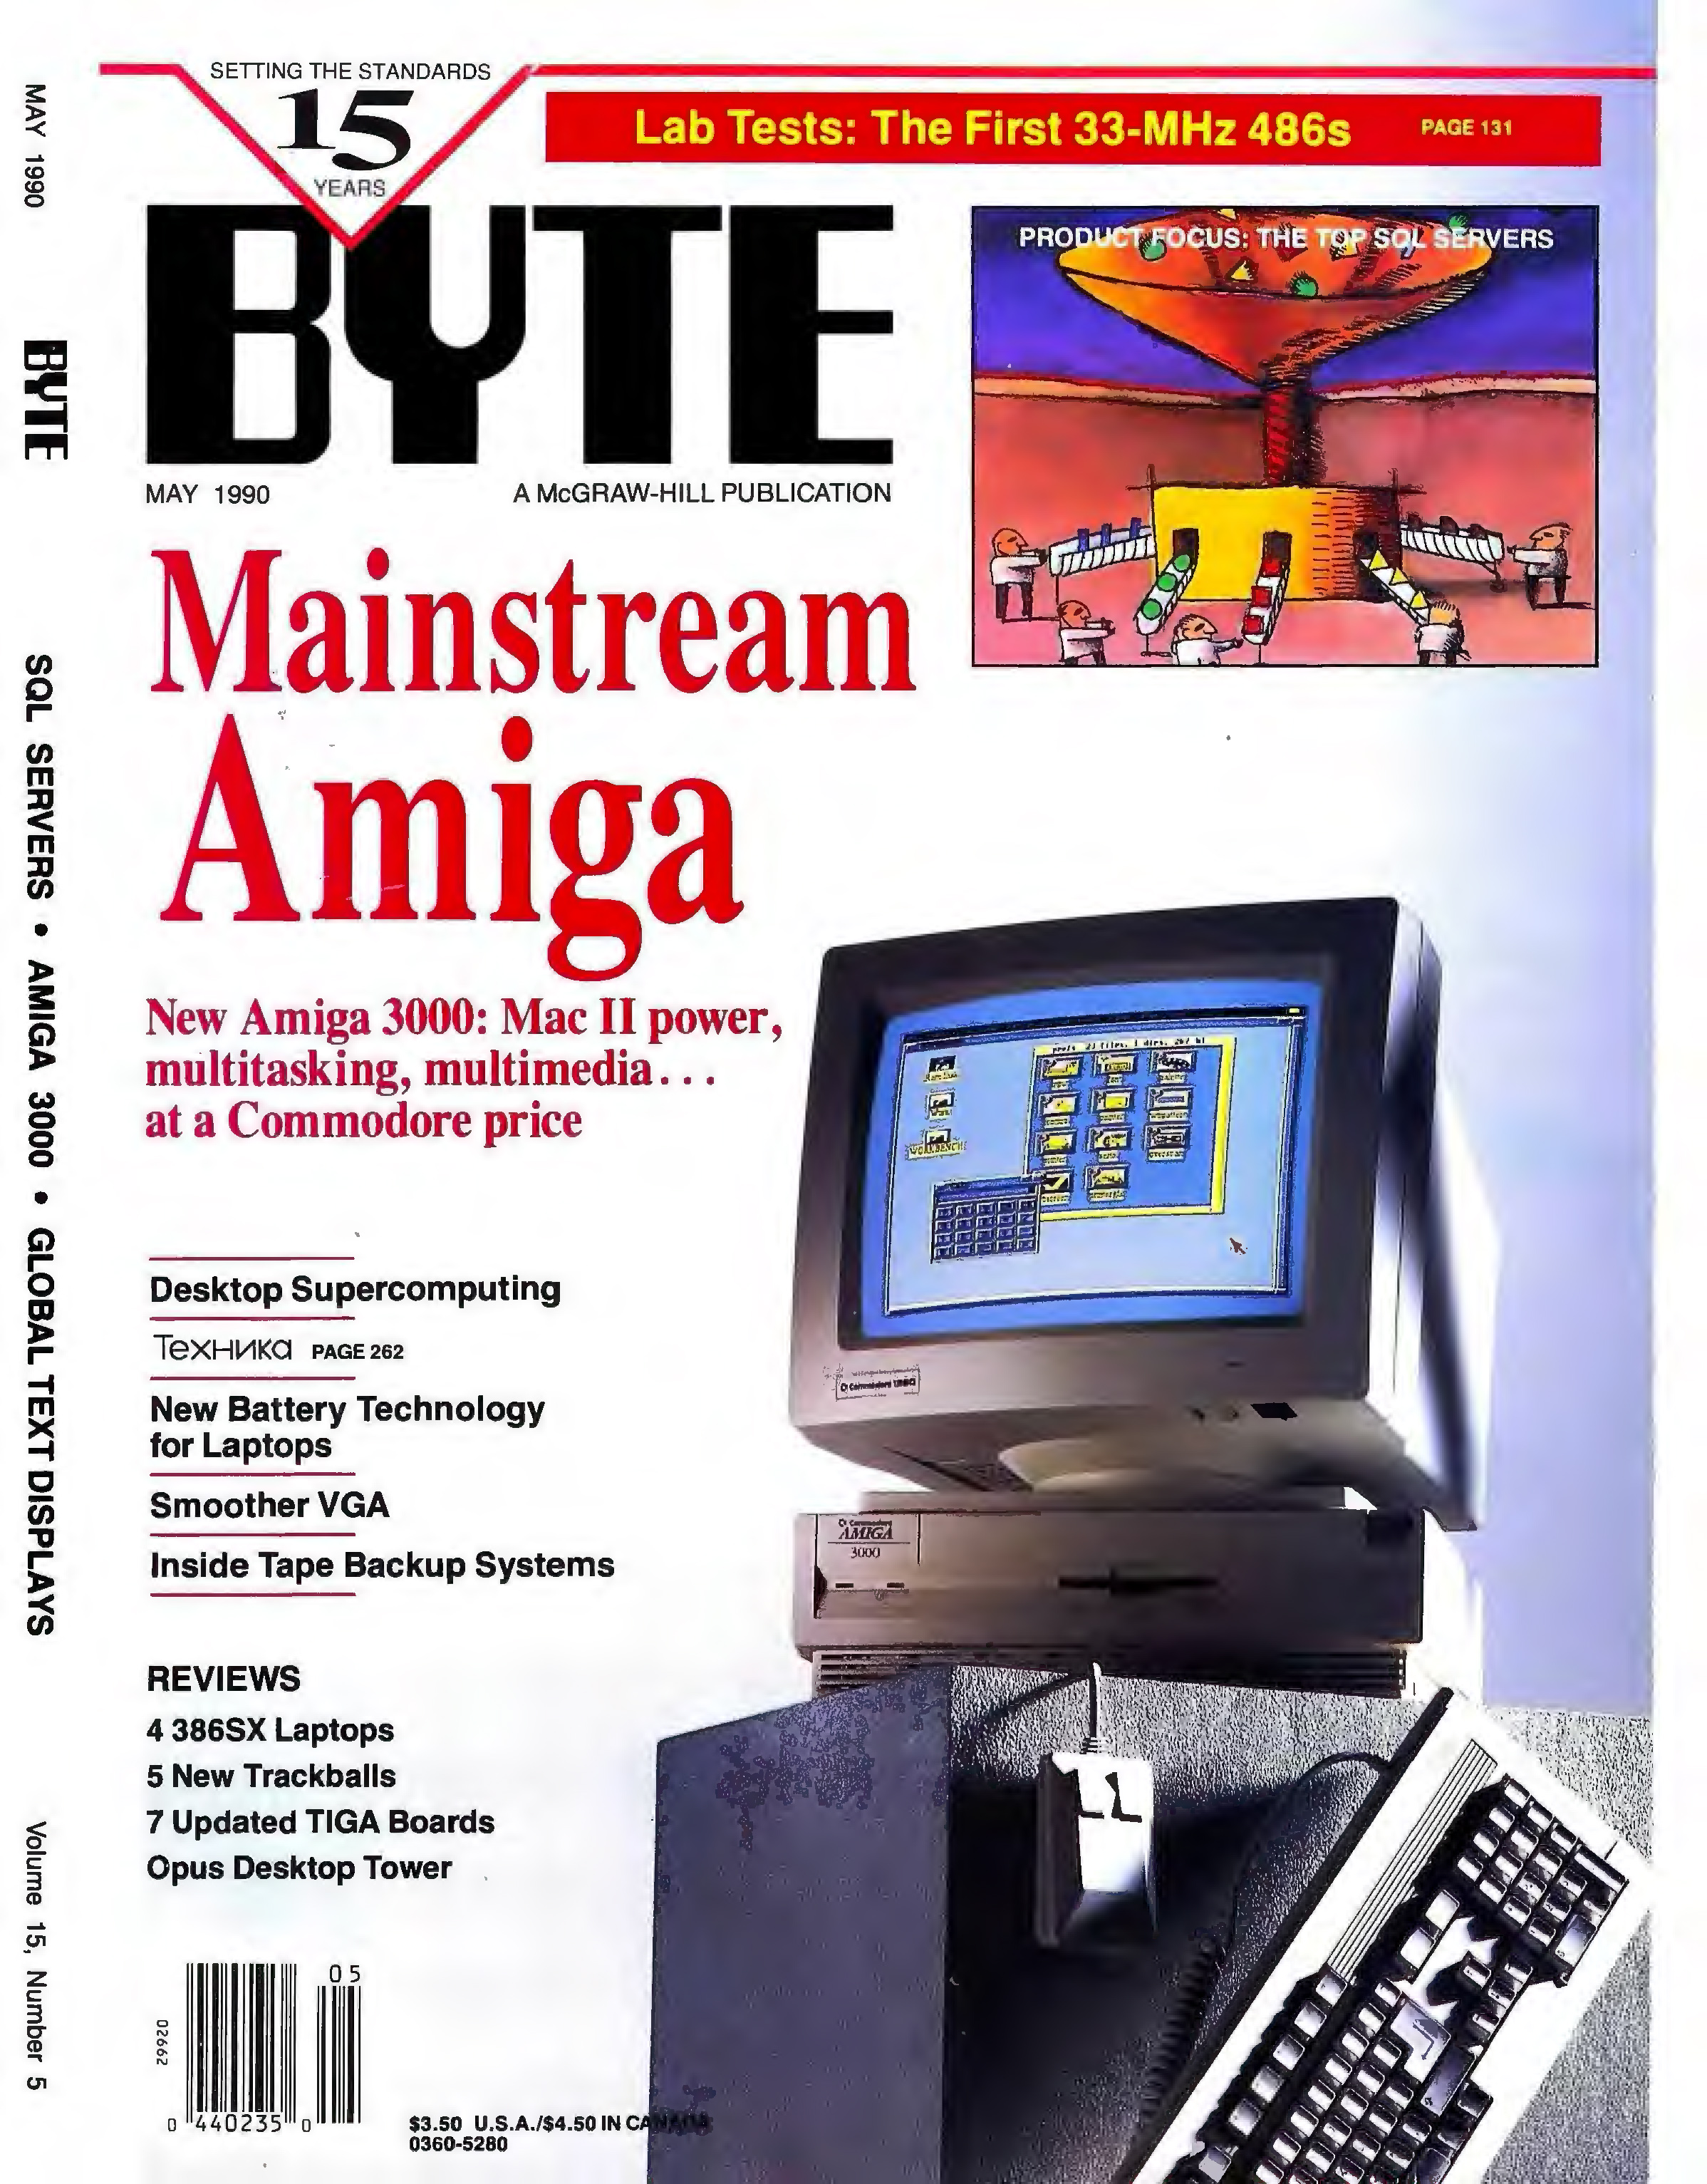
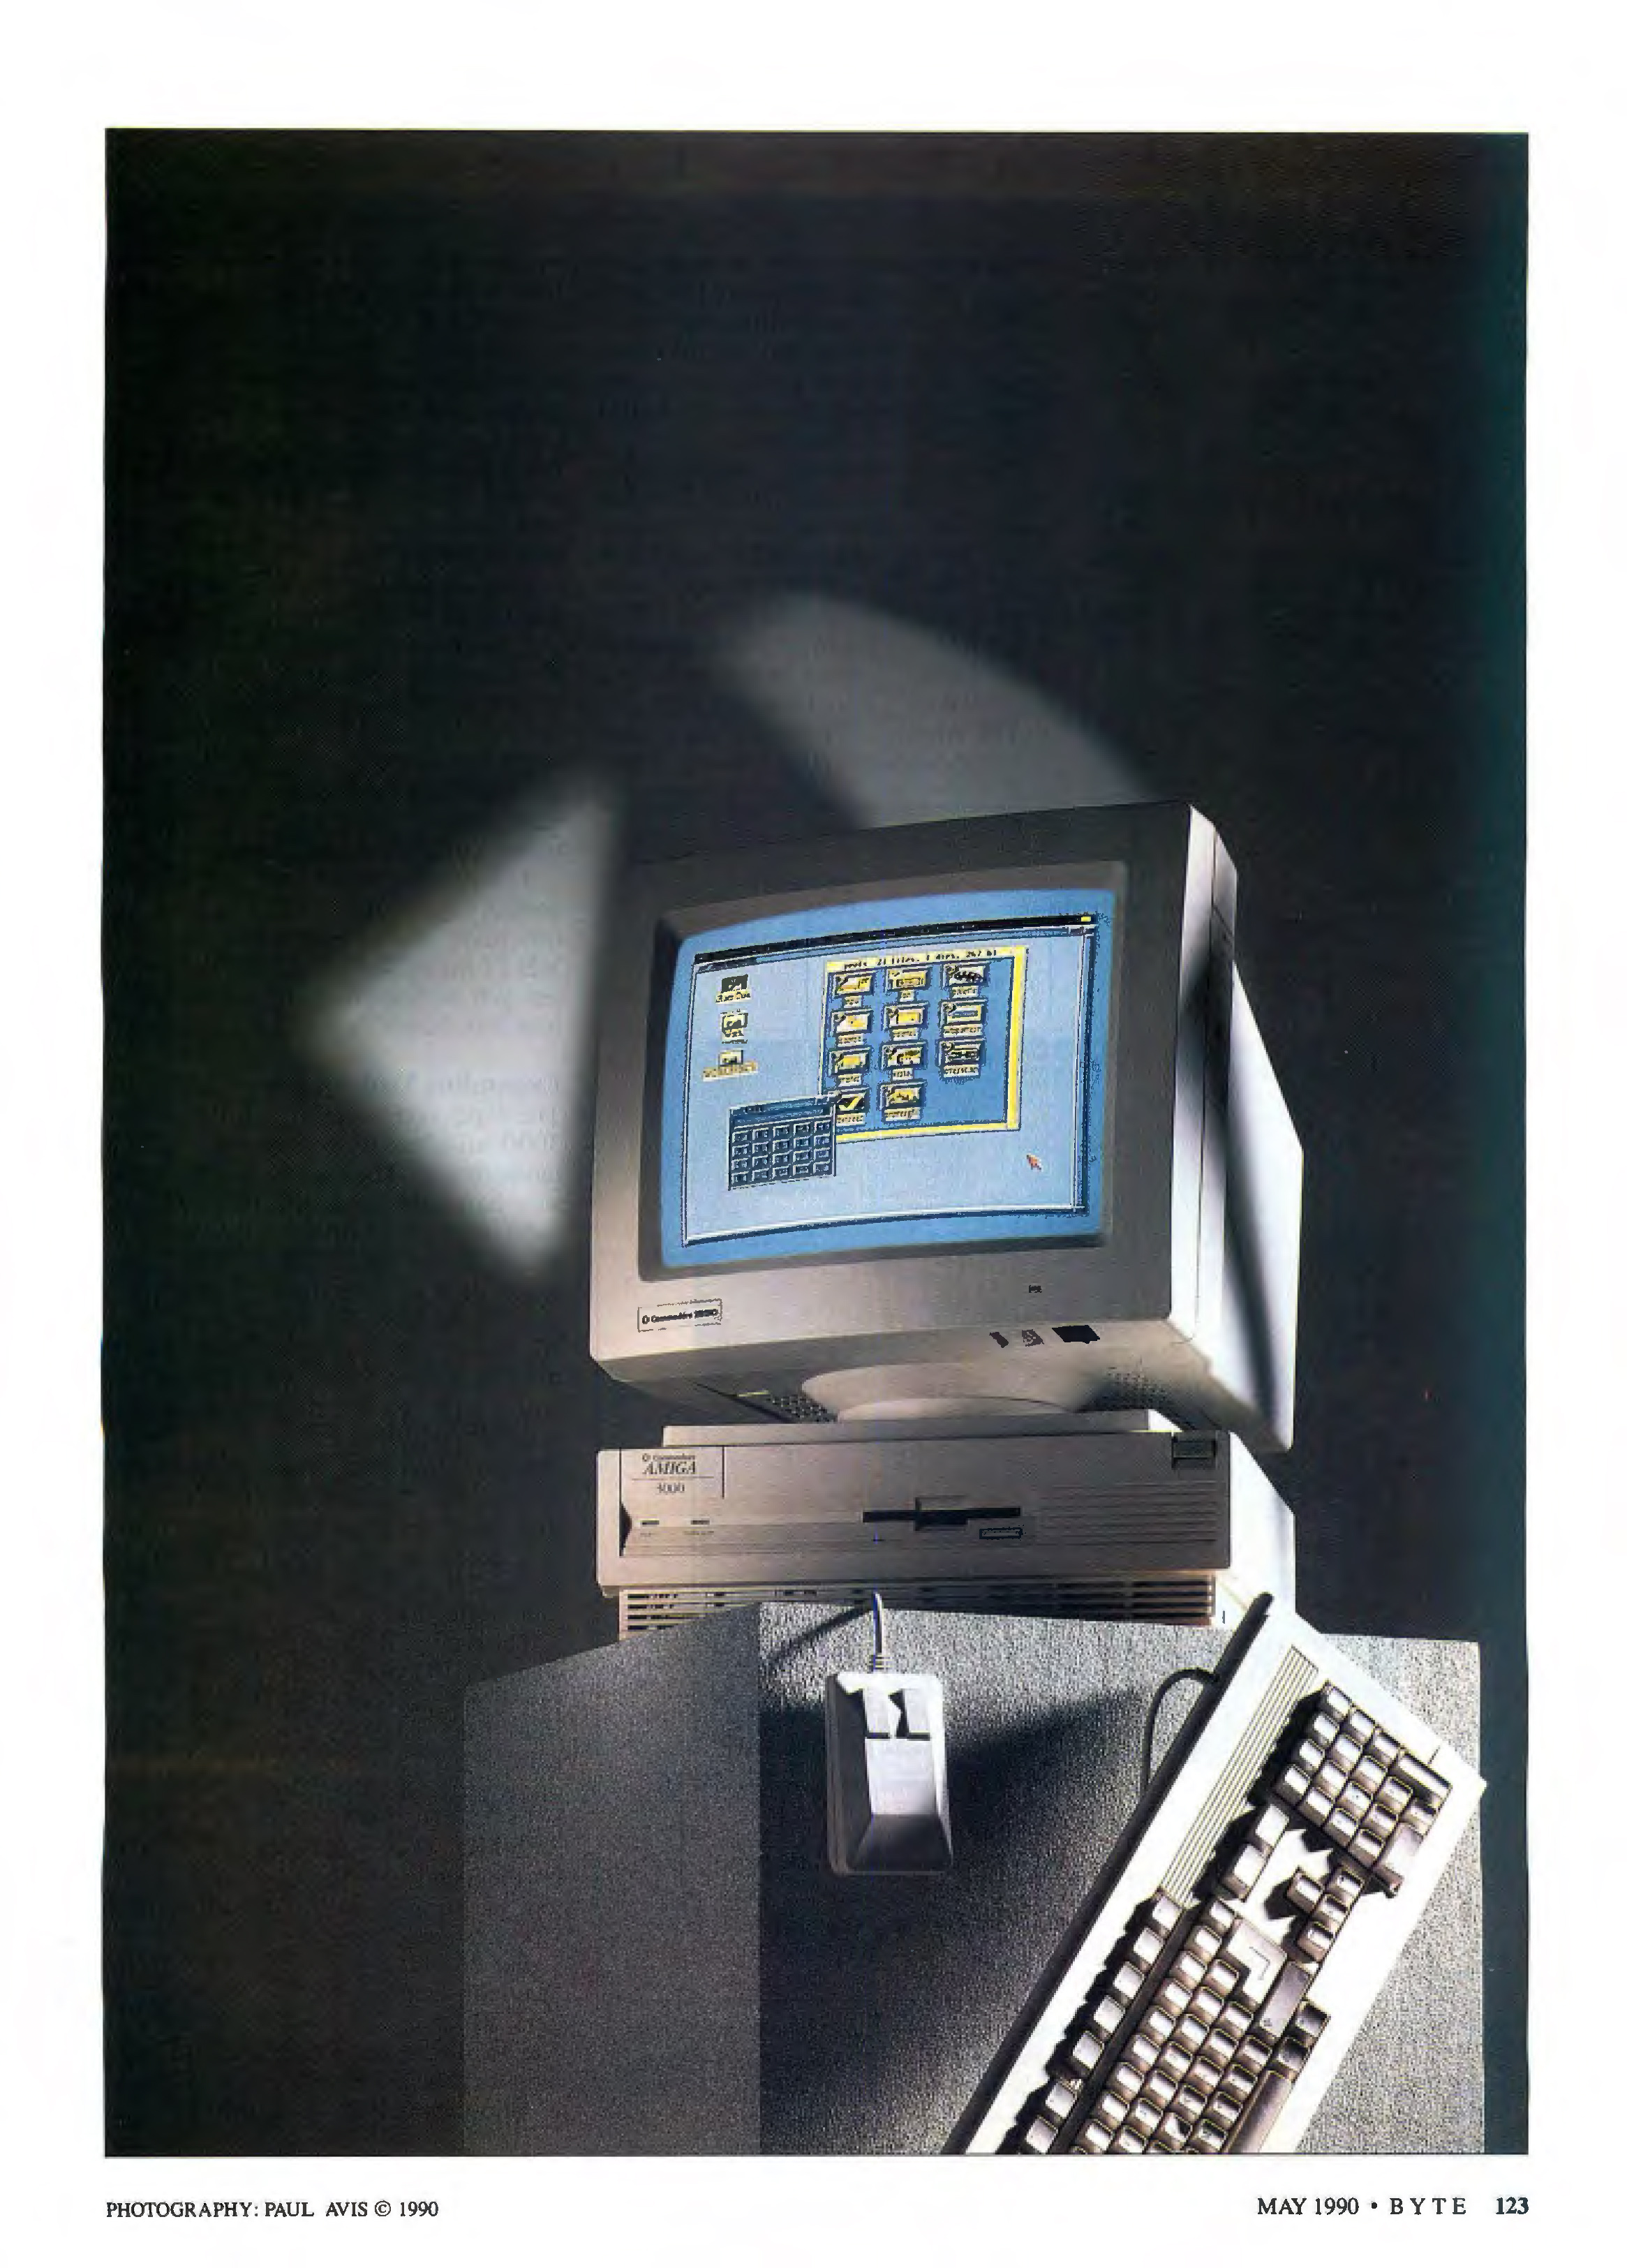
Released 1990: The Commodore Amiga 3000 is a personal computer released by Commodore in June 1990. It features improved processing speed, improved graphics rendering, and a new revision of the operating system. It is the successor to the Amiga 2000 and Amiga 2500.
Its predecessors, the Amiga 500, 1000 and 2000, share the same fundamental system architecture and consequently perform without much variation in processing speed despite considerable variation in purchase price. The A3000 however, was entirely reworked and rethought as a high-end workstation. The new Motorola 32-bit 68030 CPU, 68882 math co-processor, and 32-bit system bus increase the integer processing speed by a factor of 5 to 18, and the floating-point processing speed by a factor of 7 to 200 times. The new 32-bit Zorro III expansion slots provide for faster and more powerful expansion capabilities.
Facts
- Type: Personal computer
- Manufacturer: Commodore
- Released: 1990
- OS: AmigaOS 1.3 or 2.x (optional Unix SVR4)
- CPU: Motorola 68030 @ 16 or 25 MHz
- Memory: 2 MB (up to 18 MB on motherboard)
- Resolutions: 320×200 to 1504 x 576i
- Palette: 12-bit (4096 colors)
- Audio: 4 × 8-bit PCM channels (stereo), 28–56 kHz
- Internal storage: 40, 50 or 100 MB 3.5″ SCSI HDD (upgradable)
- Removable storage: 3.5″ FDD (DD 880 KB or HD 1760 KB)
- FPU: 68881 (16 Mhz) or 68882 (25 MHz)
- Expansion slots: 4 × 100pin 32-bit Zorro III slots, video slot, 2 × ISA-16 slots, 200-pin CPU card slot, 8 × DIP slots, 32 × ZIP slots
- Predecessor: Amiga 2500
- Successor: Amiga 4000
In common with earlier Amiga models, the A3000 runs a 32-bit operating system today known as AmigaOS. Version 2.0 is generally considered to have a more ergonomic and attractive interface. Previous versions were designed with television sets as a lowest common denominator display. AmigaOS 2.0 design was inspired by NeXT workstations according to interviews with ex. Commodore engineers, and were designed to better suit high resolutions and access for application developers was simplified.
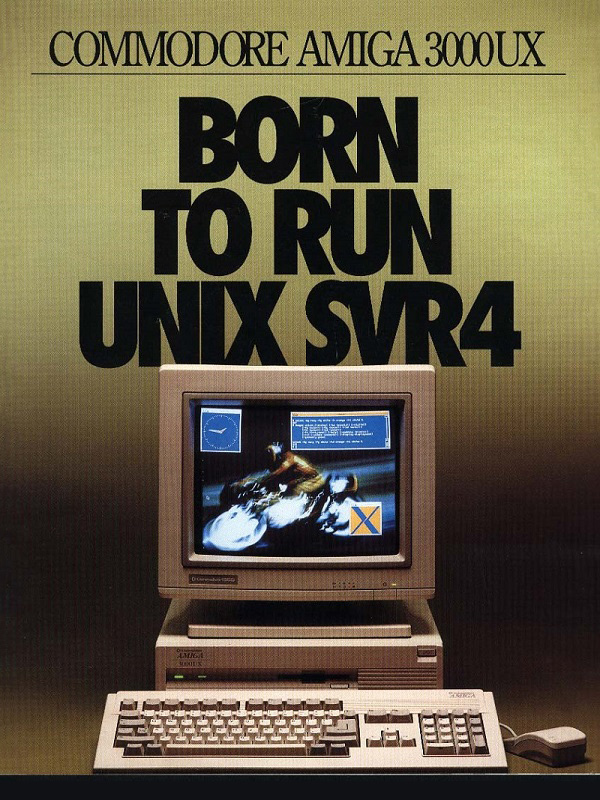
The A3000UX is an A3000 variant bundled with the UNIX System V operating system. Commodore had a licensing agreement with AT&T to include a port of Unix System V (release 4). Commodore also sold a towered variant called the Amiga 3000T. The Amiga 3000T was also available with the much faster Motorola 68040 CPU (Amiga 3000T/040).
An enhanced version, the Amiga 3000+, with the AGA chipset and an AT&T DSP3210 signal processing chip was produced to prototype stage in 1991. Although this system was never released, Commodore’s negotiations with AT&T over the proper way to bundle their VCOS/VCAS operating system software in a personal computer environment helped Apple Computer deliver their Quadra 660 and 840 AV-series Macintosh systems, two years later.
Instead of the Amiga 3000+, Commodore replaced the Amiga 3000 six months behind schedule, in the fall of 1992, with the Amiga 4000.
Technical
The Amiga 3000 shipped with a Motorola 68030 at either 16 or 25 MHz and 2 MB of RAM. It includes the Enhanced Chip Set (ECS), a scan-doubler/flicker fixer for use with a VGA monitor, and a DMA SCSI controller and hard disk drive.
“Fast RAM” can be increased by fitting DIP (up to 4 MB) or ZIP DRAM chips (up to 16 MB) available in two varieties, Page Mode or Static Column.
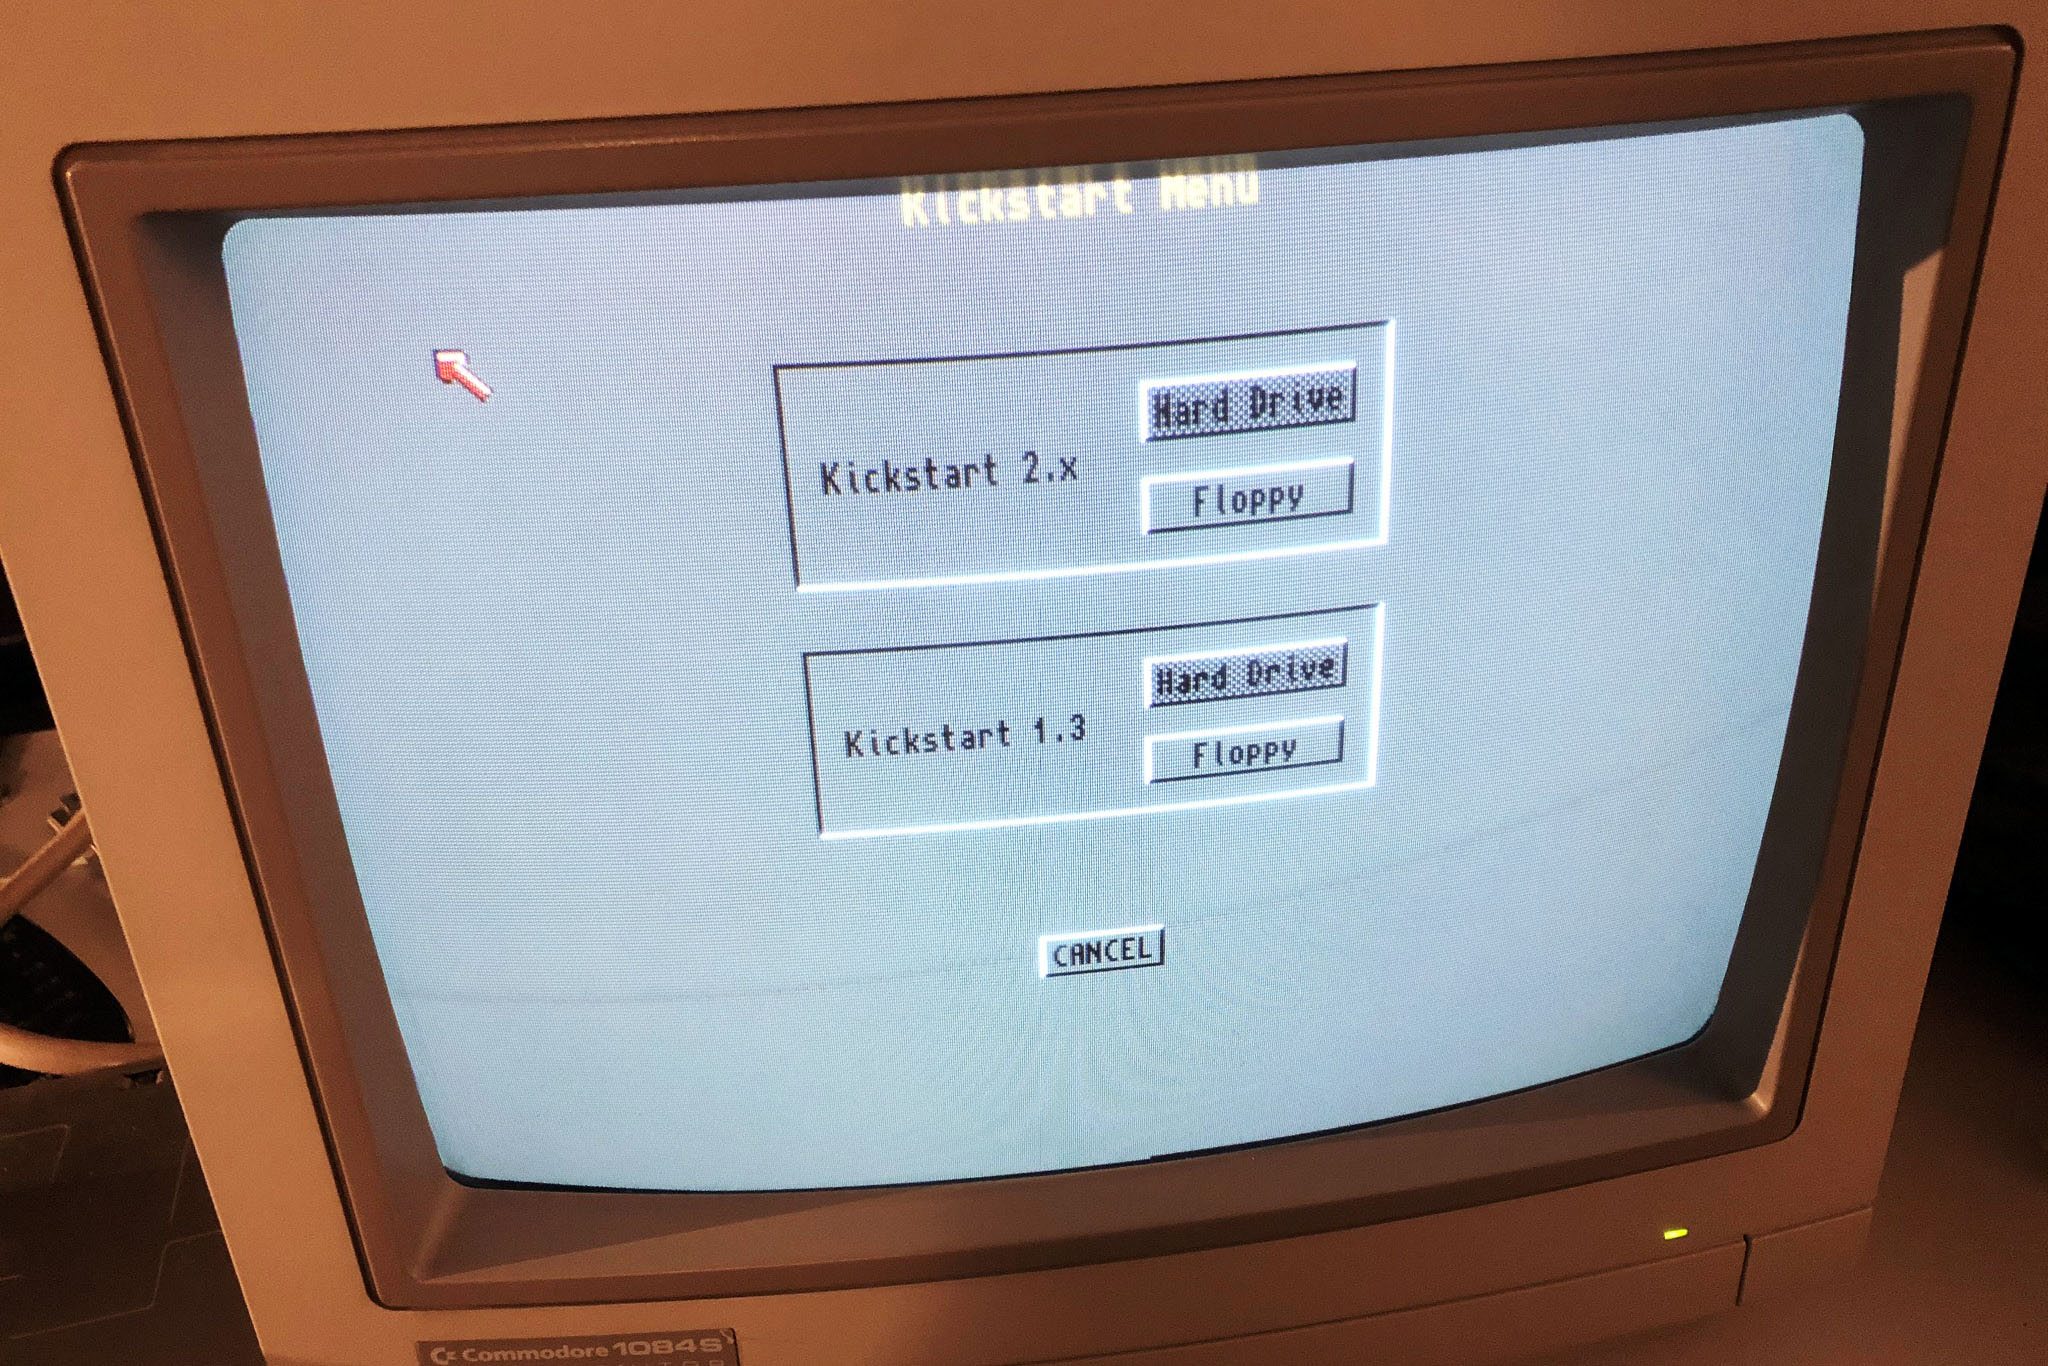
The A3000, unlike most Amiga models, supports both ROM-based Kickstarts and disk-based Kickstarts (the early “SuperKickstart” model), although not simultaneously. Kickstart V1.4 is actually a beta version of Kickstart which is loaded from disk. 68040 CPU require at least 2.0 ROM.
The A3000 has a number of Amiga-specific connectors including two DE-9 ports for joysticks, mice, and light pens, a standard 25-pin RS-232 serial port and a 25-pin Centronics parallel port. As a result, at launch the A3000 was compatible with many existing Amiga peripherals, such as MIDI devices, serial modems, genlocks, and sound samplers.
The A3000 has four internal 32-bit Zorro III expansion slots. This expansion bus allows the use of devices which comply with the AutoConfig standard, such as graphic cards, sound cards, network cards, and later even USB controllers.
The two passive ISA slots can be activated by use of a bridgeboard, which connects the Zorro and ISA buses. Such bridgeboards typically feature on-board IBM-PC-compatible hardware, including Intel 80286, 80386 or 80486 microprocessors allowing emulation of an entire IBM-PC system in hardware. An ISA card can then be installed in the remaining ISA slot.
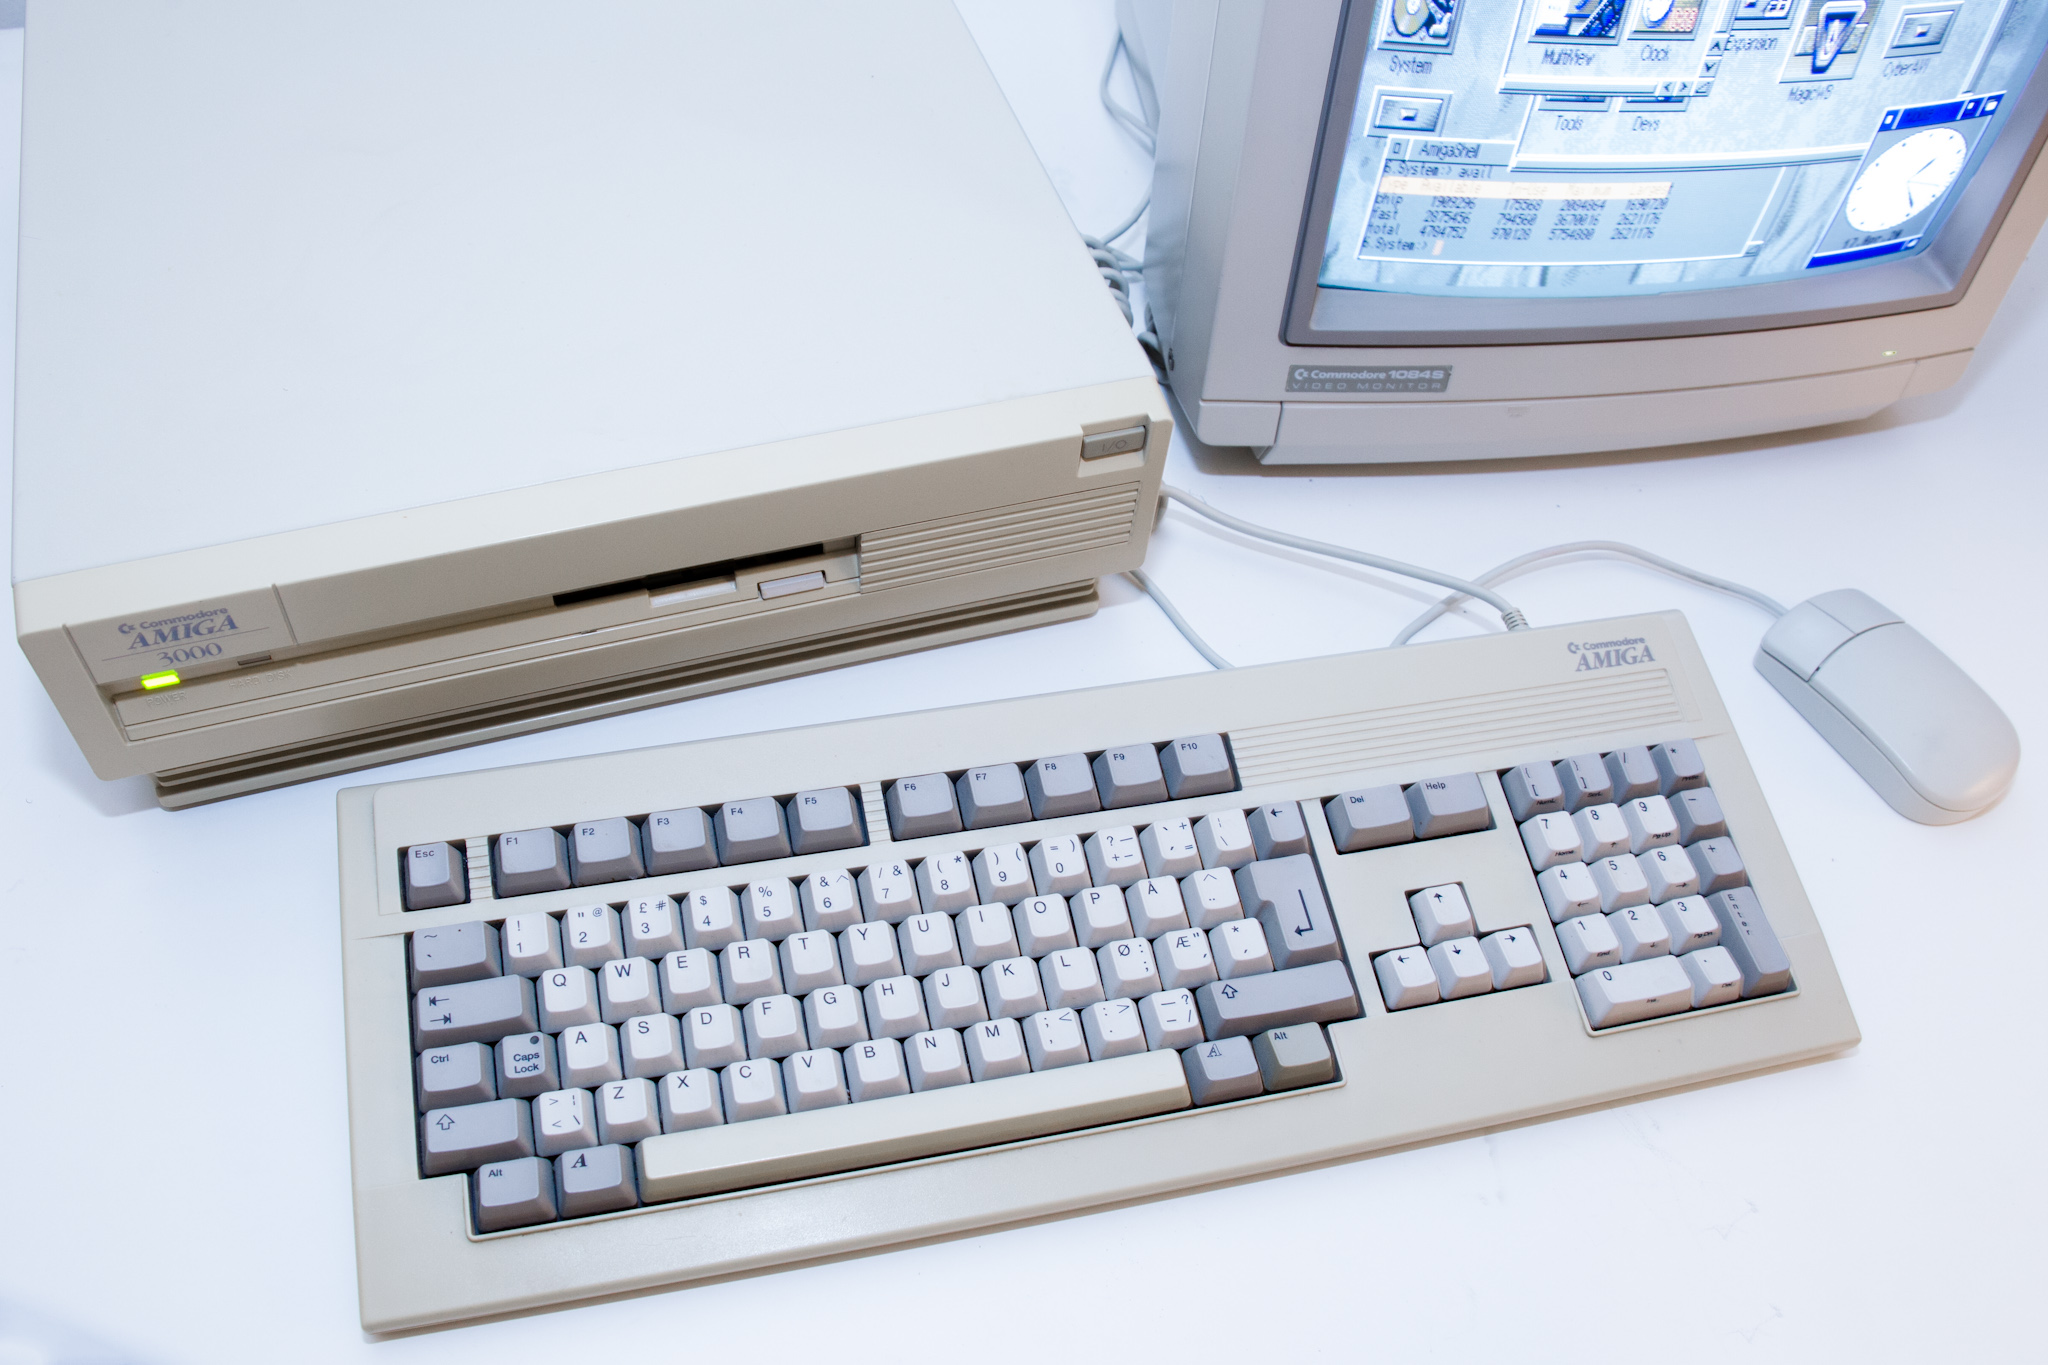
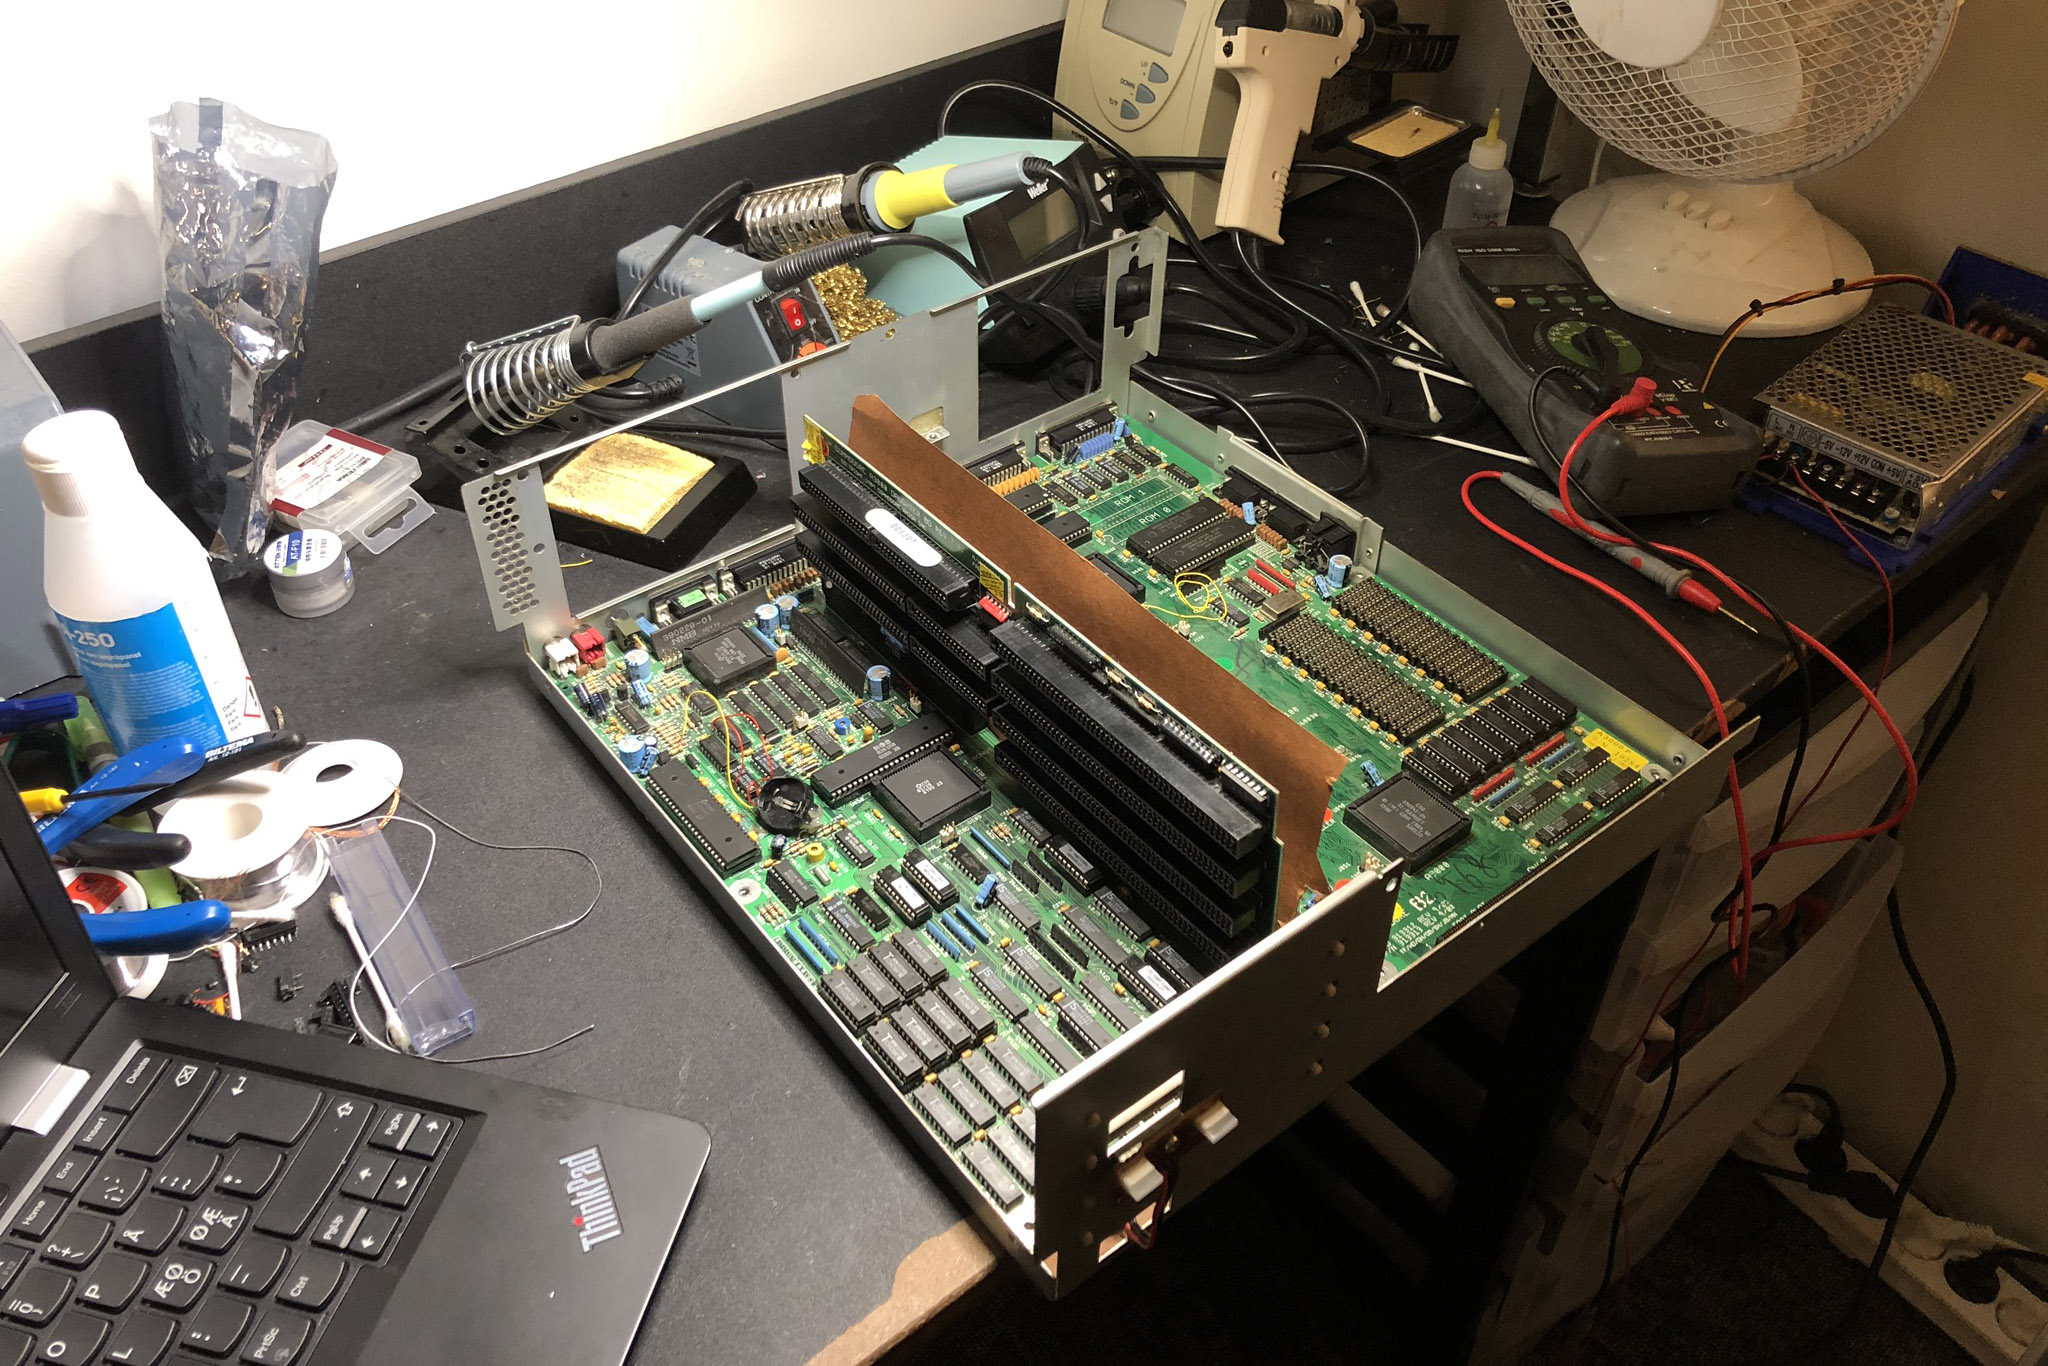
My Amiga 3000 and repair
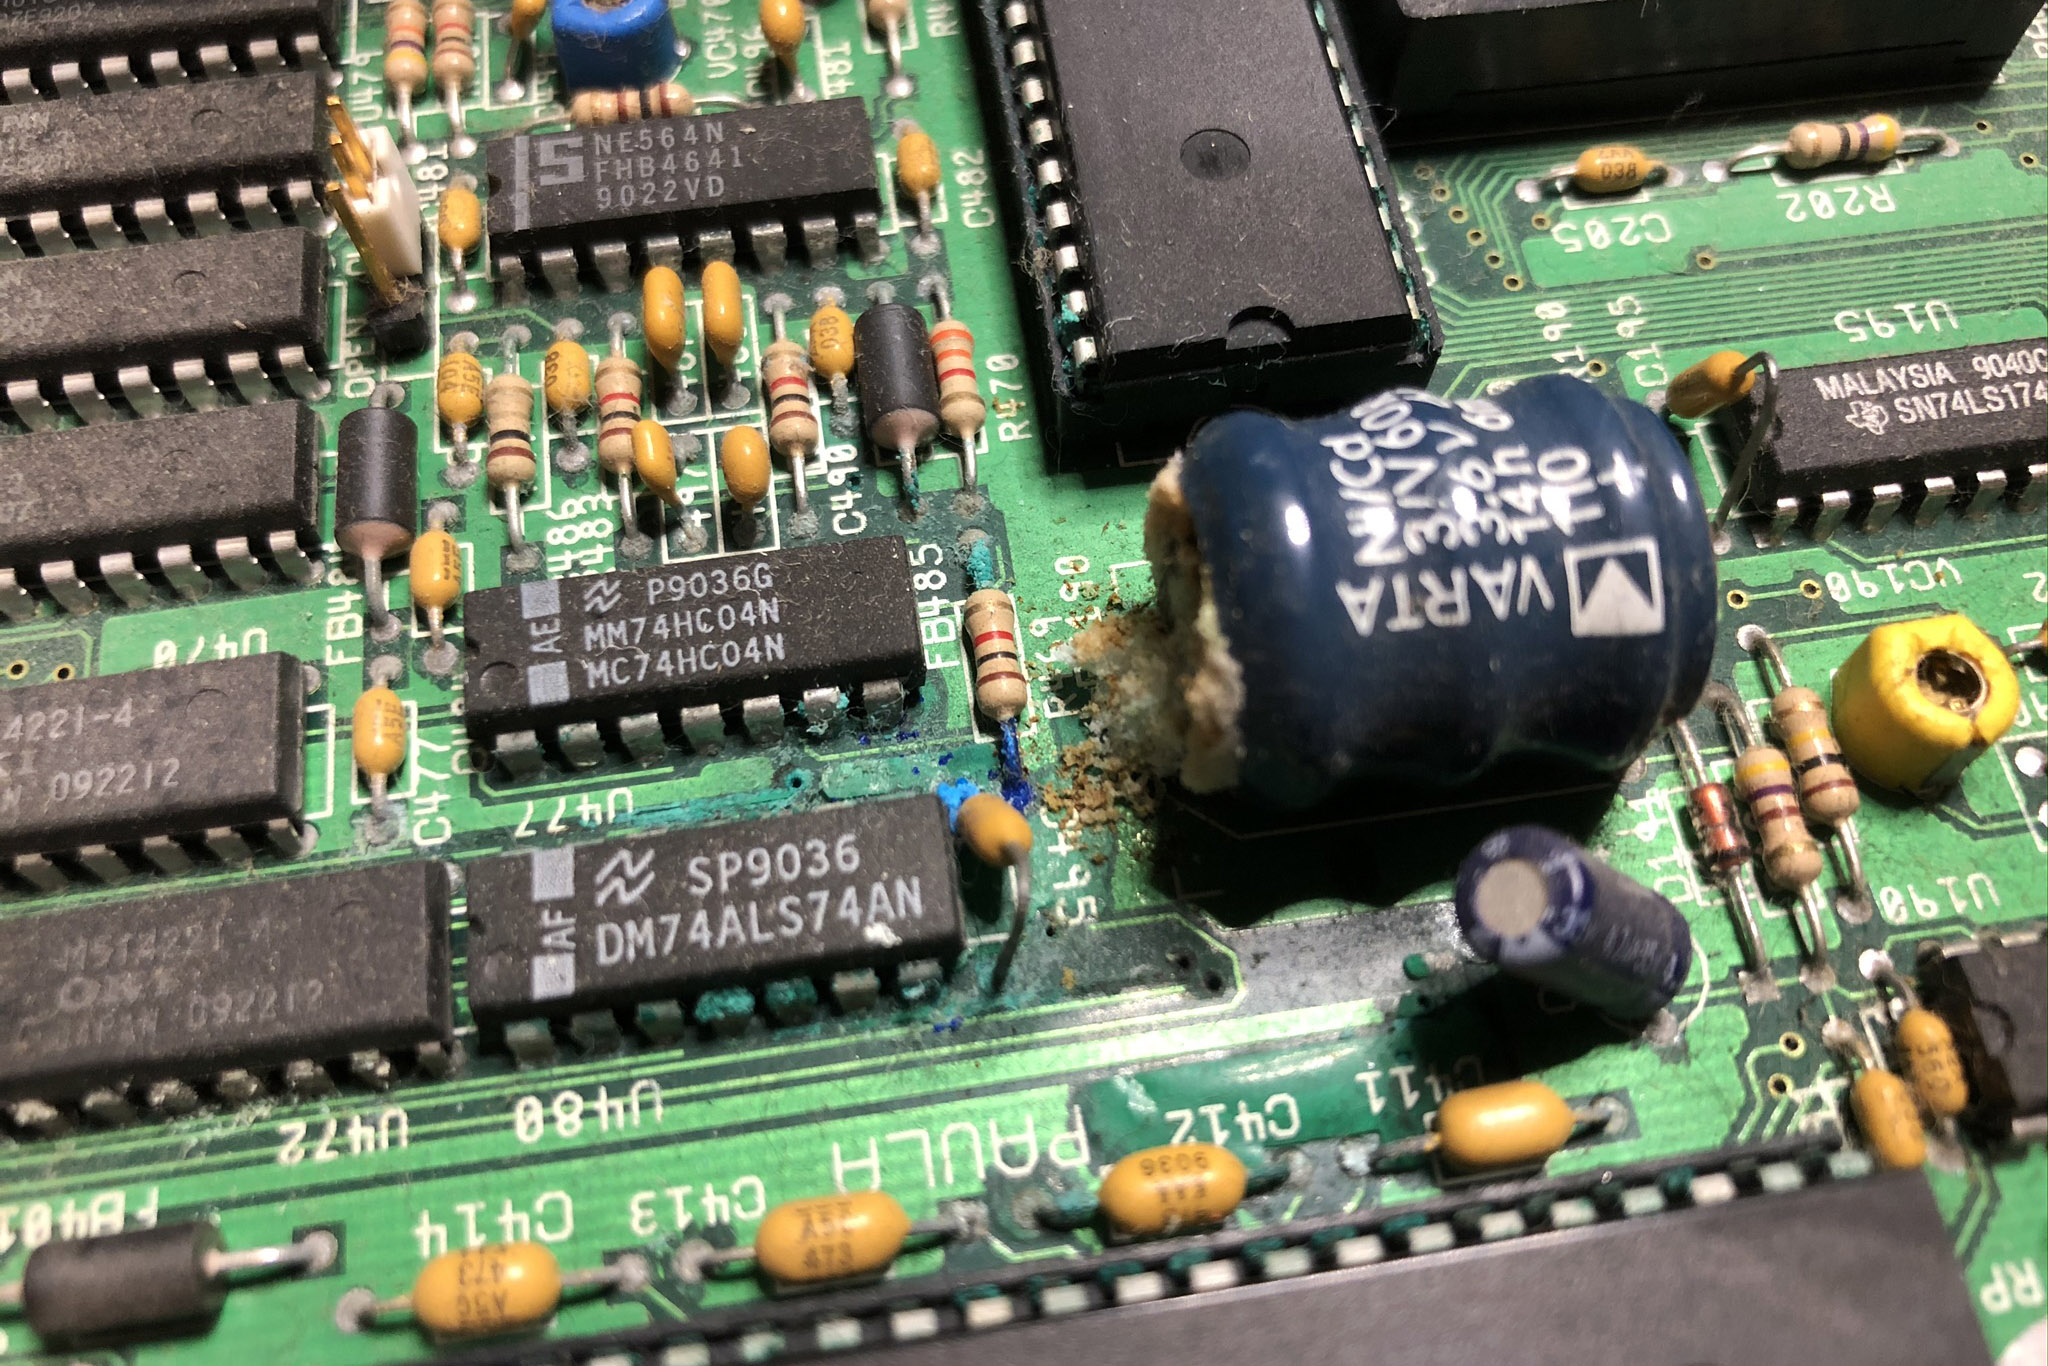
I’ve never owned an Amiga 3000 before and was very lucky to get this one at a “fair” price, a friend helped me pick it up from the sellers location and ship it to me in secure package. First thing before fire it up was to check under the “bonnet” for damage caused by battery leakage and obvious faults like loose connectors. Unfortunately as typical with this model, there was some battery leakage and first thing was to clean the battery residue and removal of the battery. After also re-seating all chips in their sockets, it was time to turn it on for the first time. It didn’t work, I’ve got a white screen, which means all the initial tests were passed, so it was not completely “dead” at least. Caps-lock key got stuck after pressing it seven times though, that means the CPU was not “active”. Keyboard got its own CPU and a very small memory buffer, the buffer get’s filled up after seven strokes, the CPU would empty the buffer if it was running.
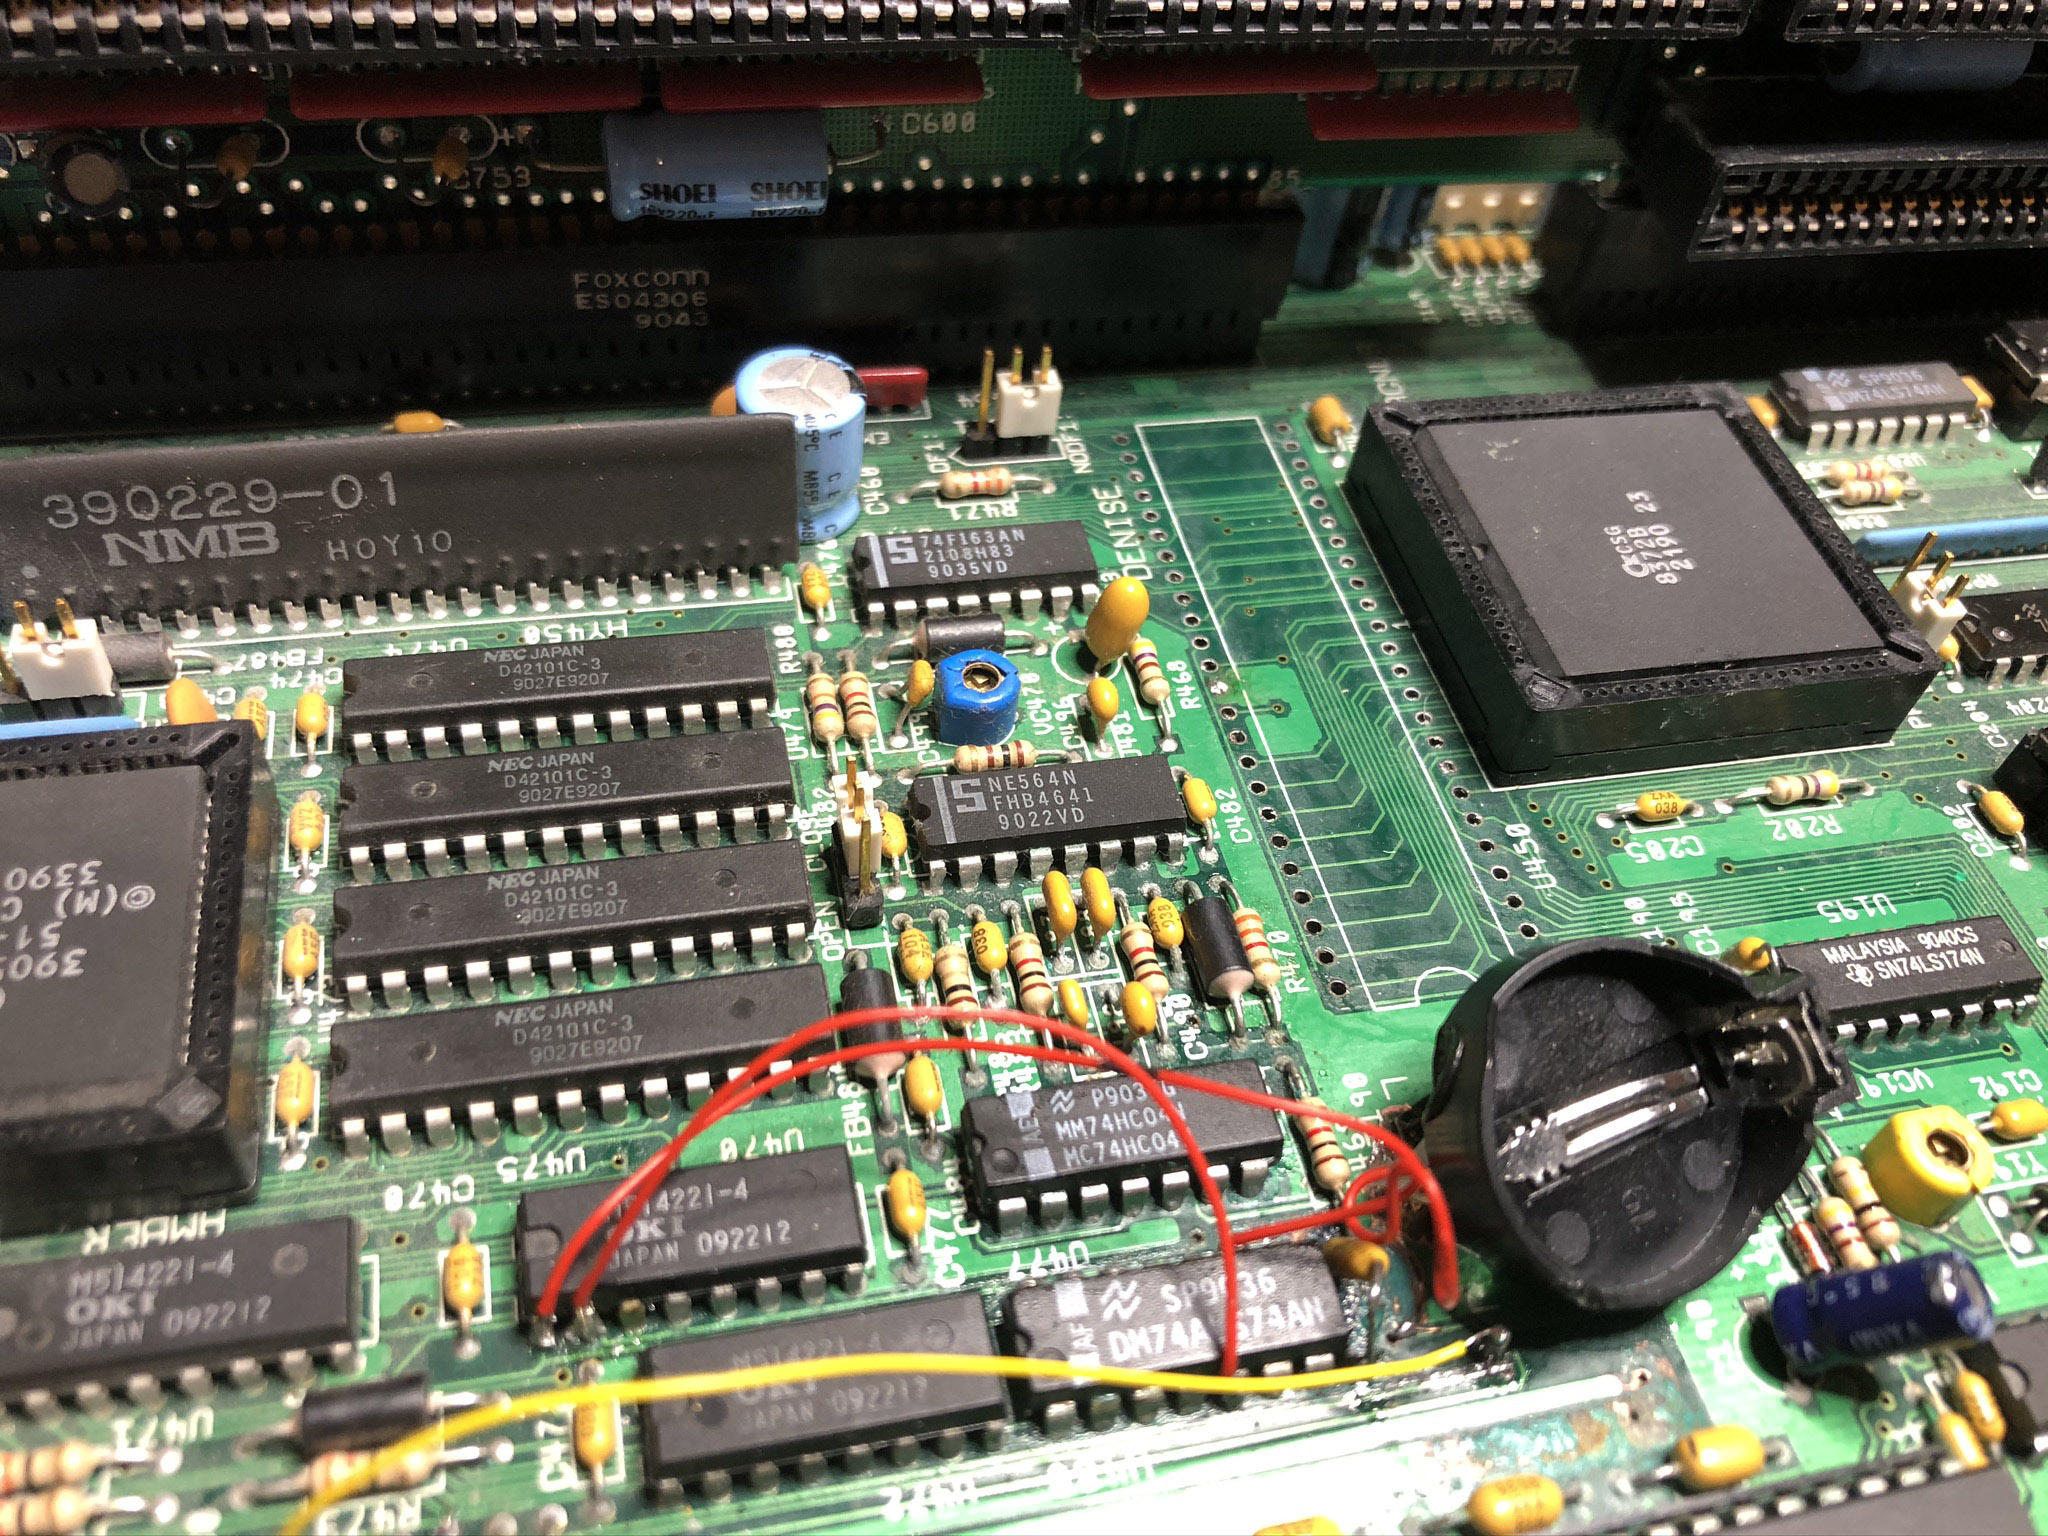
- Check for damaged traces: I’ve spend some time to measured resistance (Ohm) between points to find traces and vias with bad connection in the battery area and found some bad traces and vias. A few traces was replaced with wires. I’ve pilled out single cords from a wire and used those to repair some traces and bad vias. Still the Amiga booted to a white screen.
- Custom chip “Denise” socket: Found that the socket for the chip “Denise” had a broken leg, due to removal of fastened battery residue. Replaced the socket with two other sockets that I had laying around that would match the length when joined together. Still the same error in the machine though.
- Super DMAC chip, broken pin: I’ve re-seated all the chips once again, this time my PLCC extractor tool slipped by accident while lifting the Super DMAC chip. Unfortunately one the pins broke off. This particular chip is very hard to find elsewhere as it’s only used in the Amiga 3000. Luckily I manage to repair the chip by soldering on a thin wire and sand the solder, so the chip would still fit in the socket, I then measured to make sure that my solder made connection with the pin on the socket. Amiga still got a white screen.

- Diagrom (diagnostic tool): My friend Tommy Eriksen helped me out and burned me a set of John Hertell (Chukcy) Diagrom EPROM’s. This is a fantastic diagnostic tool which you insert in the Amiga’s ROM sockets. Diagnostics can be fed throughout the serial port or directly in the Amiga screen if the computer is “healthy” enough for video output that is. The Diagrom tool was able to output to the Amiga screen directly, and listed error with the “Paula” sound chip and with all IRQ channels, and stuck key at boot, whatever that means. Everything else proved OK.

- Custom chip “Paula” socket: I’ve now replaced the “Paula” chip socket with two other sockets that I had laying around that would match the length when joined together. just as I did with the “Denise” chip.
Success: Diagrom diagnostic now found no errors. Inserted the original Kickstart ROM chips, and “SUCCESS”, machine booted and worked flawless and stable.
- RTC battery replacement: I’ve soldered in a coin cell battery holder to replace the removed “barrel” battery for a non re-chargeable 3.0 volt lithium battery and a diode to prevent it from charging.
- Front panel LED: The front panel LED PCB had solder points loosened from the PCB, so I fixed that by solder in wires to the LED’s directly.
- Socket for oscillator: I’ve soldered in a socket the 50 MHz oscillator on the motherboard for easy access if I want to test out overclocking.
- Power supply: I’ve had already replaced the cooling fan with a new modern one to make it quieter and improve cooling. But now I decided to also replace all the capacitors in the PSU, including the AC filter caps.
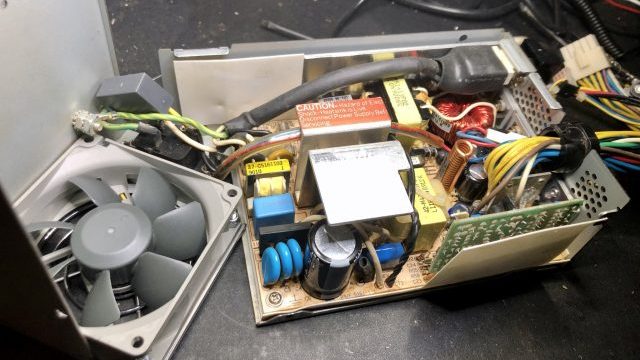
Amiga 3000 power supply with new capacitors and a new cooling fan.
Upgrades
- SCSI-IDE: A friend gave me a SCSI to IDE card that I’ve setup to use a CF memory card as hard disk. It was a bit of a struggle to get working right. My A3000 got the “Super Kickstart 1.4 ROM” and that meant that the boot partition got to be setup with the same version of the file system “Fast-file-system” as is present in that ROM in order to be read and boot. I also ran into troubles with different CF cards was not fully compatible in various degrees with this particular SCSI-IDE card, so I ended up using a 1 GB card I got it to work 100% with.
- Graphic card: I’ve earlier bought a GVP Spectrum 24 graphic card that had the red color channel completely dead, but everything else worked. I’ve already re-flowed the solder on most chips without any changes. Now I took a new go at it, and compared components close to the rear side of it that I “guessed” had to do with handling the three separate color channels. By measuring resistance I found a dead SMD resistor. I replaced that resistor with a TH resistor 68 Ohm I had laying around. Success! The Spectrum 24 card now works flawless with correct colors. I’ve installed it into the Amiga 3000 without problems. This is the same graphic card I bought brand new in either 1993 or 1994 for around 500 Euro after working all summer saving up money, a small fortune for me back then.
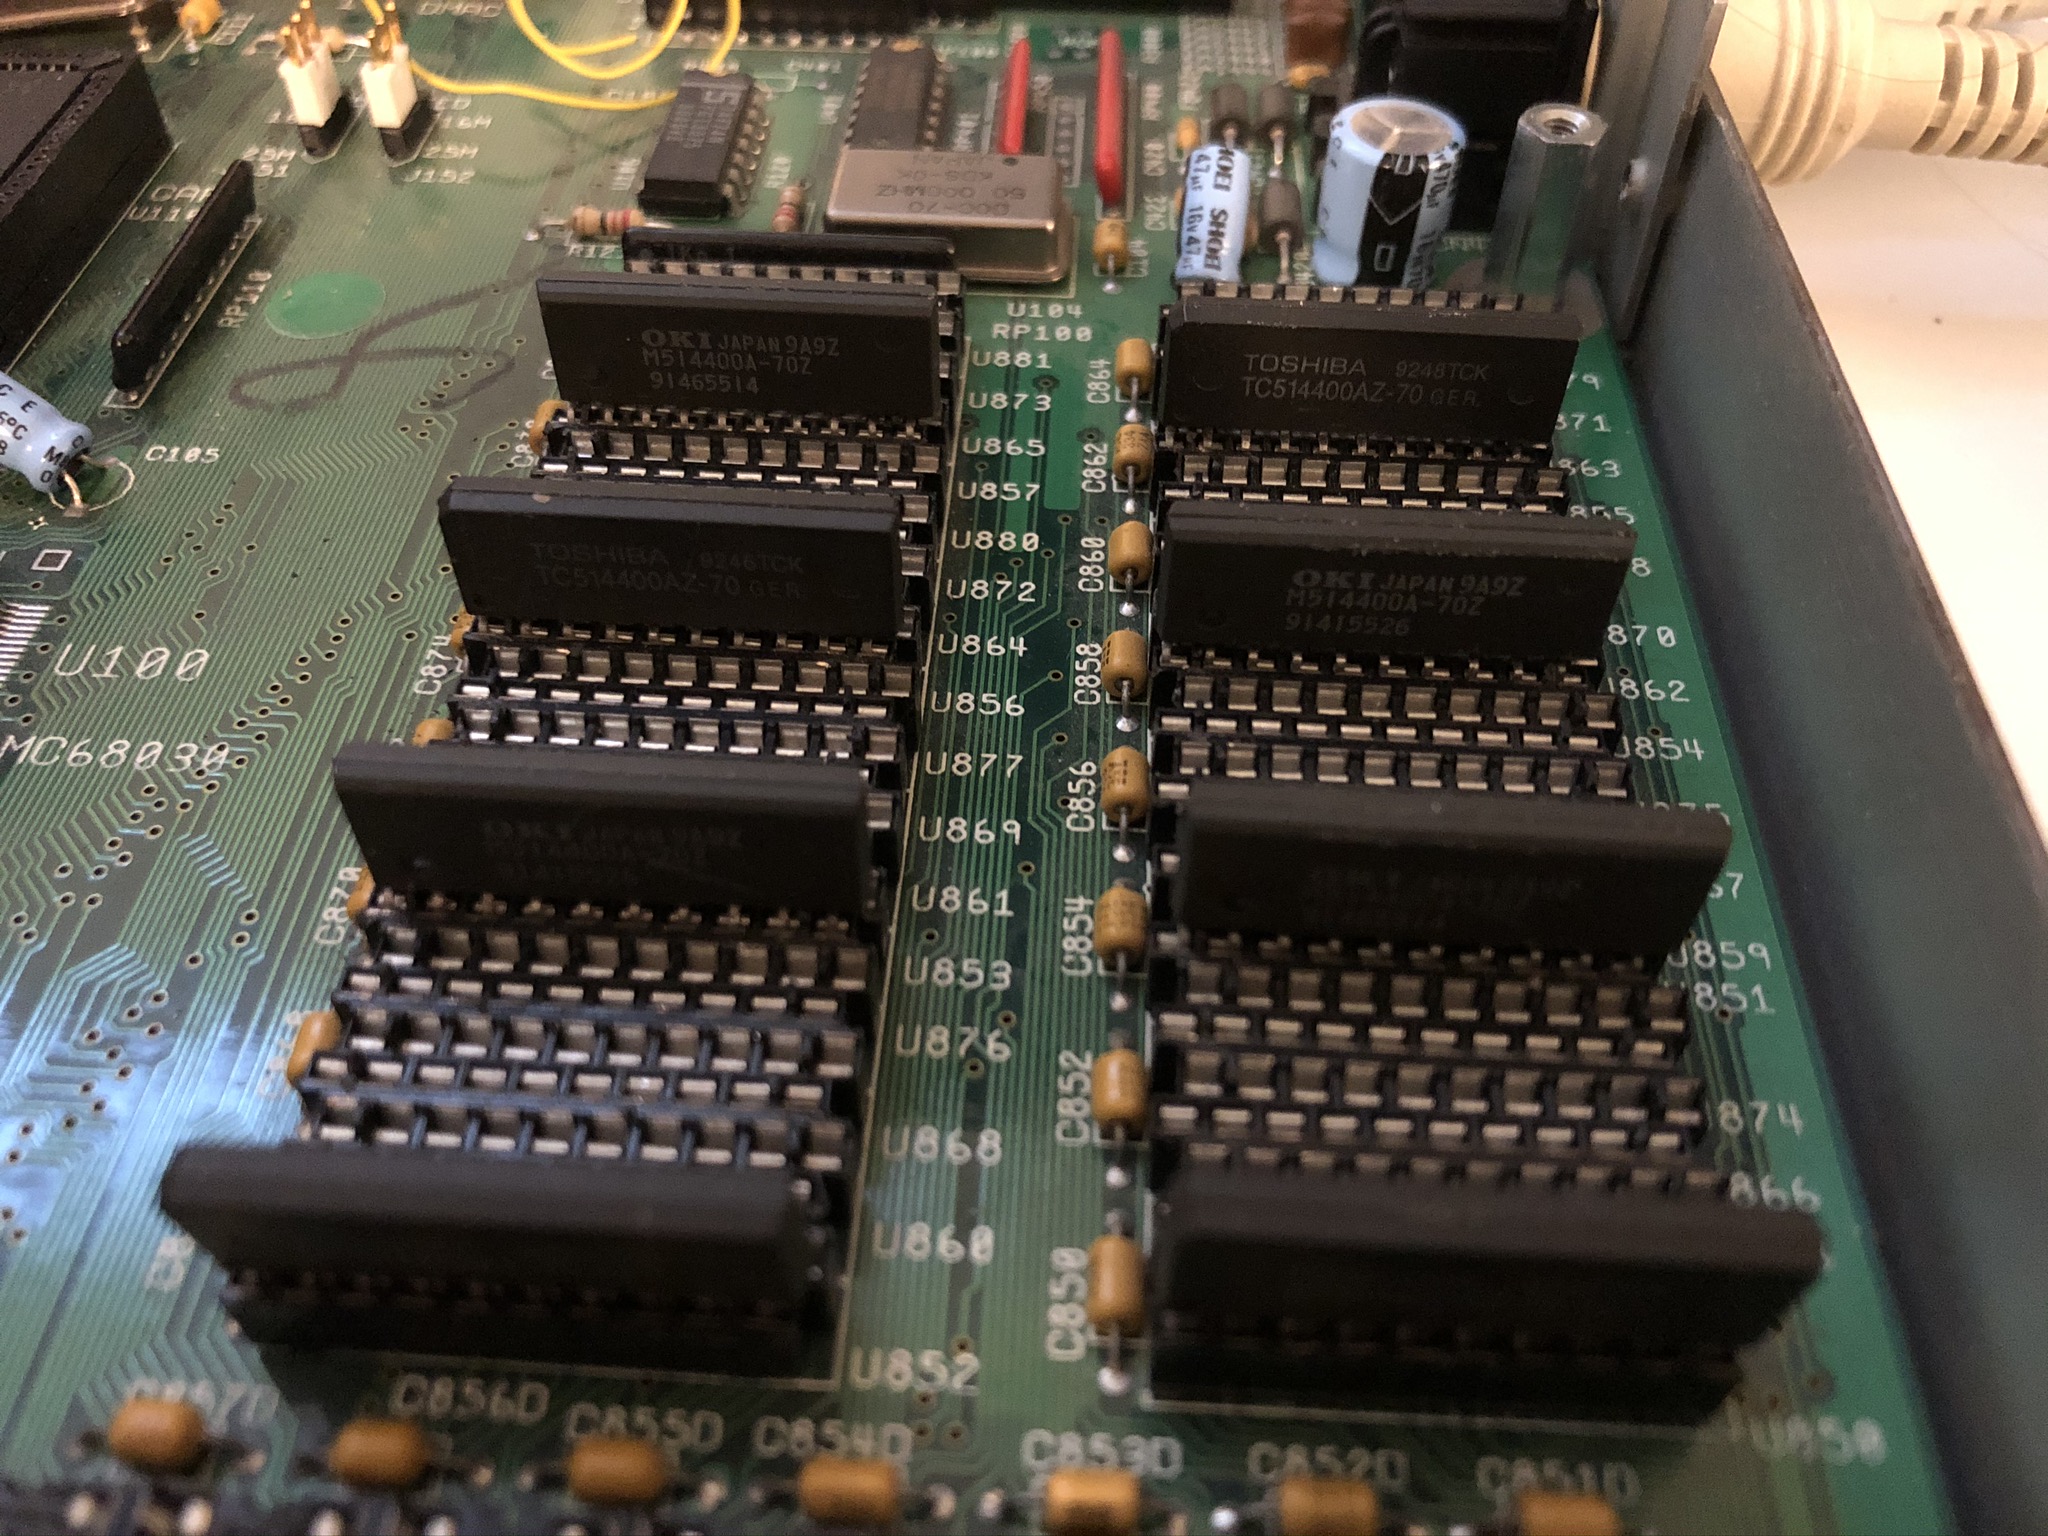
GVP Spectrum 24 – new resistor in place - Adding memory: My A3000 had 6 MB RAM, 2MB chip (multipurpose) and 4MB fast (cpu only). First I bought 32+3 extra ZIP chips from eBay China to get 16 MB fast RAM. When I finally got the chips they were probably defective and the machine wouldn’t accept any of them. I then bought 32 chips from an Amiga user in US. After waiting almost two months, the chips arrived. Unfortunately at least two of the chips were defective, and I had to spend some time to single out exact defective chips. I then could only populate 3 of the 4 memory banks of fast RAM to get 12 MB. I then “borrowed” 8 similar RAM chips from my Retina BLT Z3 graphic card that I’m not using after repairing my Spectrum 24 card for this machine to get the last 4 MB the machine can hold. This worked out perfectly, I’ve now got 16 MB Fast RAM, 2 MB Chip RAM on the motherboard and additionally 8 MB of 16 bit Fast RAM from installing a GVP SCSI controller with RAM expansion I had for spare.

Adding ZIP RAM into an Amiga 3000 - A2088XT: I’ve purchased an untested A2088XT “Bridgecard” PC emulator. First, my machine wouldn’t boot up with the card installed. After some re-seat of chips in sockets, replacing the old capacitors, and some other stuff I’ve forgot about now, it worked. I’ve now got a PC XT clone in my Amiga 3000. I’ve got no PC floppy drive for it installed, but made an hard drive image file for it using the PC Task, a software PC emulator that uses the same type of HDD image files.

Amiga 3000 – A2088XT PC emulator running PC version of Test Drive on the Workbench

I also have an early A-3000, so early, it may not even have sockets for the ROMs on the motherboard. It’s Problem – it always crashed (frozen) after 15 to 30 minutes, while I don’t think my A-1000 ever crashed. I had even added a full 18 MB of memory, to the A-3000 still it crashed. I wonder if the memory size jumpers were both ever in the correct position??? I have not looked at the set in 5 years, I will do so soon. I’ll try to make those diagnostic chips, I have the 866II chip programmer, but I may not have the correct type of A-3000 blank ROMs. Again, I might have to add sockets.
Maybe test to run with only 2 MB chip ram to check if it makes any difference, maybe a bad RAM ZIP module?