External storage: datasette tape, 5.25″ floppy, 8″ floppy, hard drive
Predecessor: CBM 8096 and CBM 8000-series
Released 1983: Commodore had allready from 1982 updated the CBM/PET series of small-business computers with a new series of computers. The new computers were called the CBM-II series (B series). These were not as successful and were abandoned in 1984.
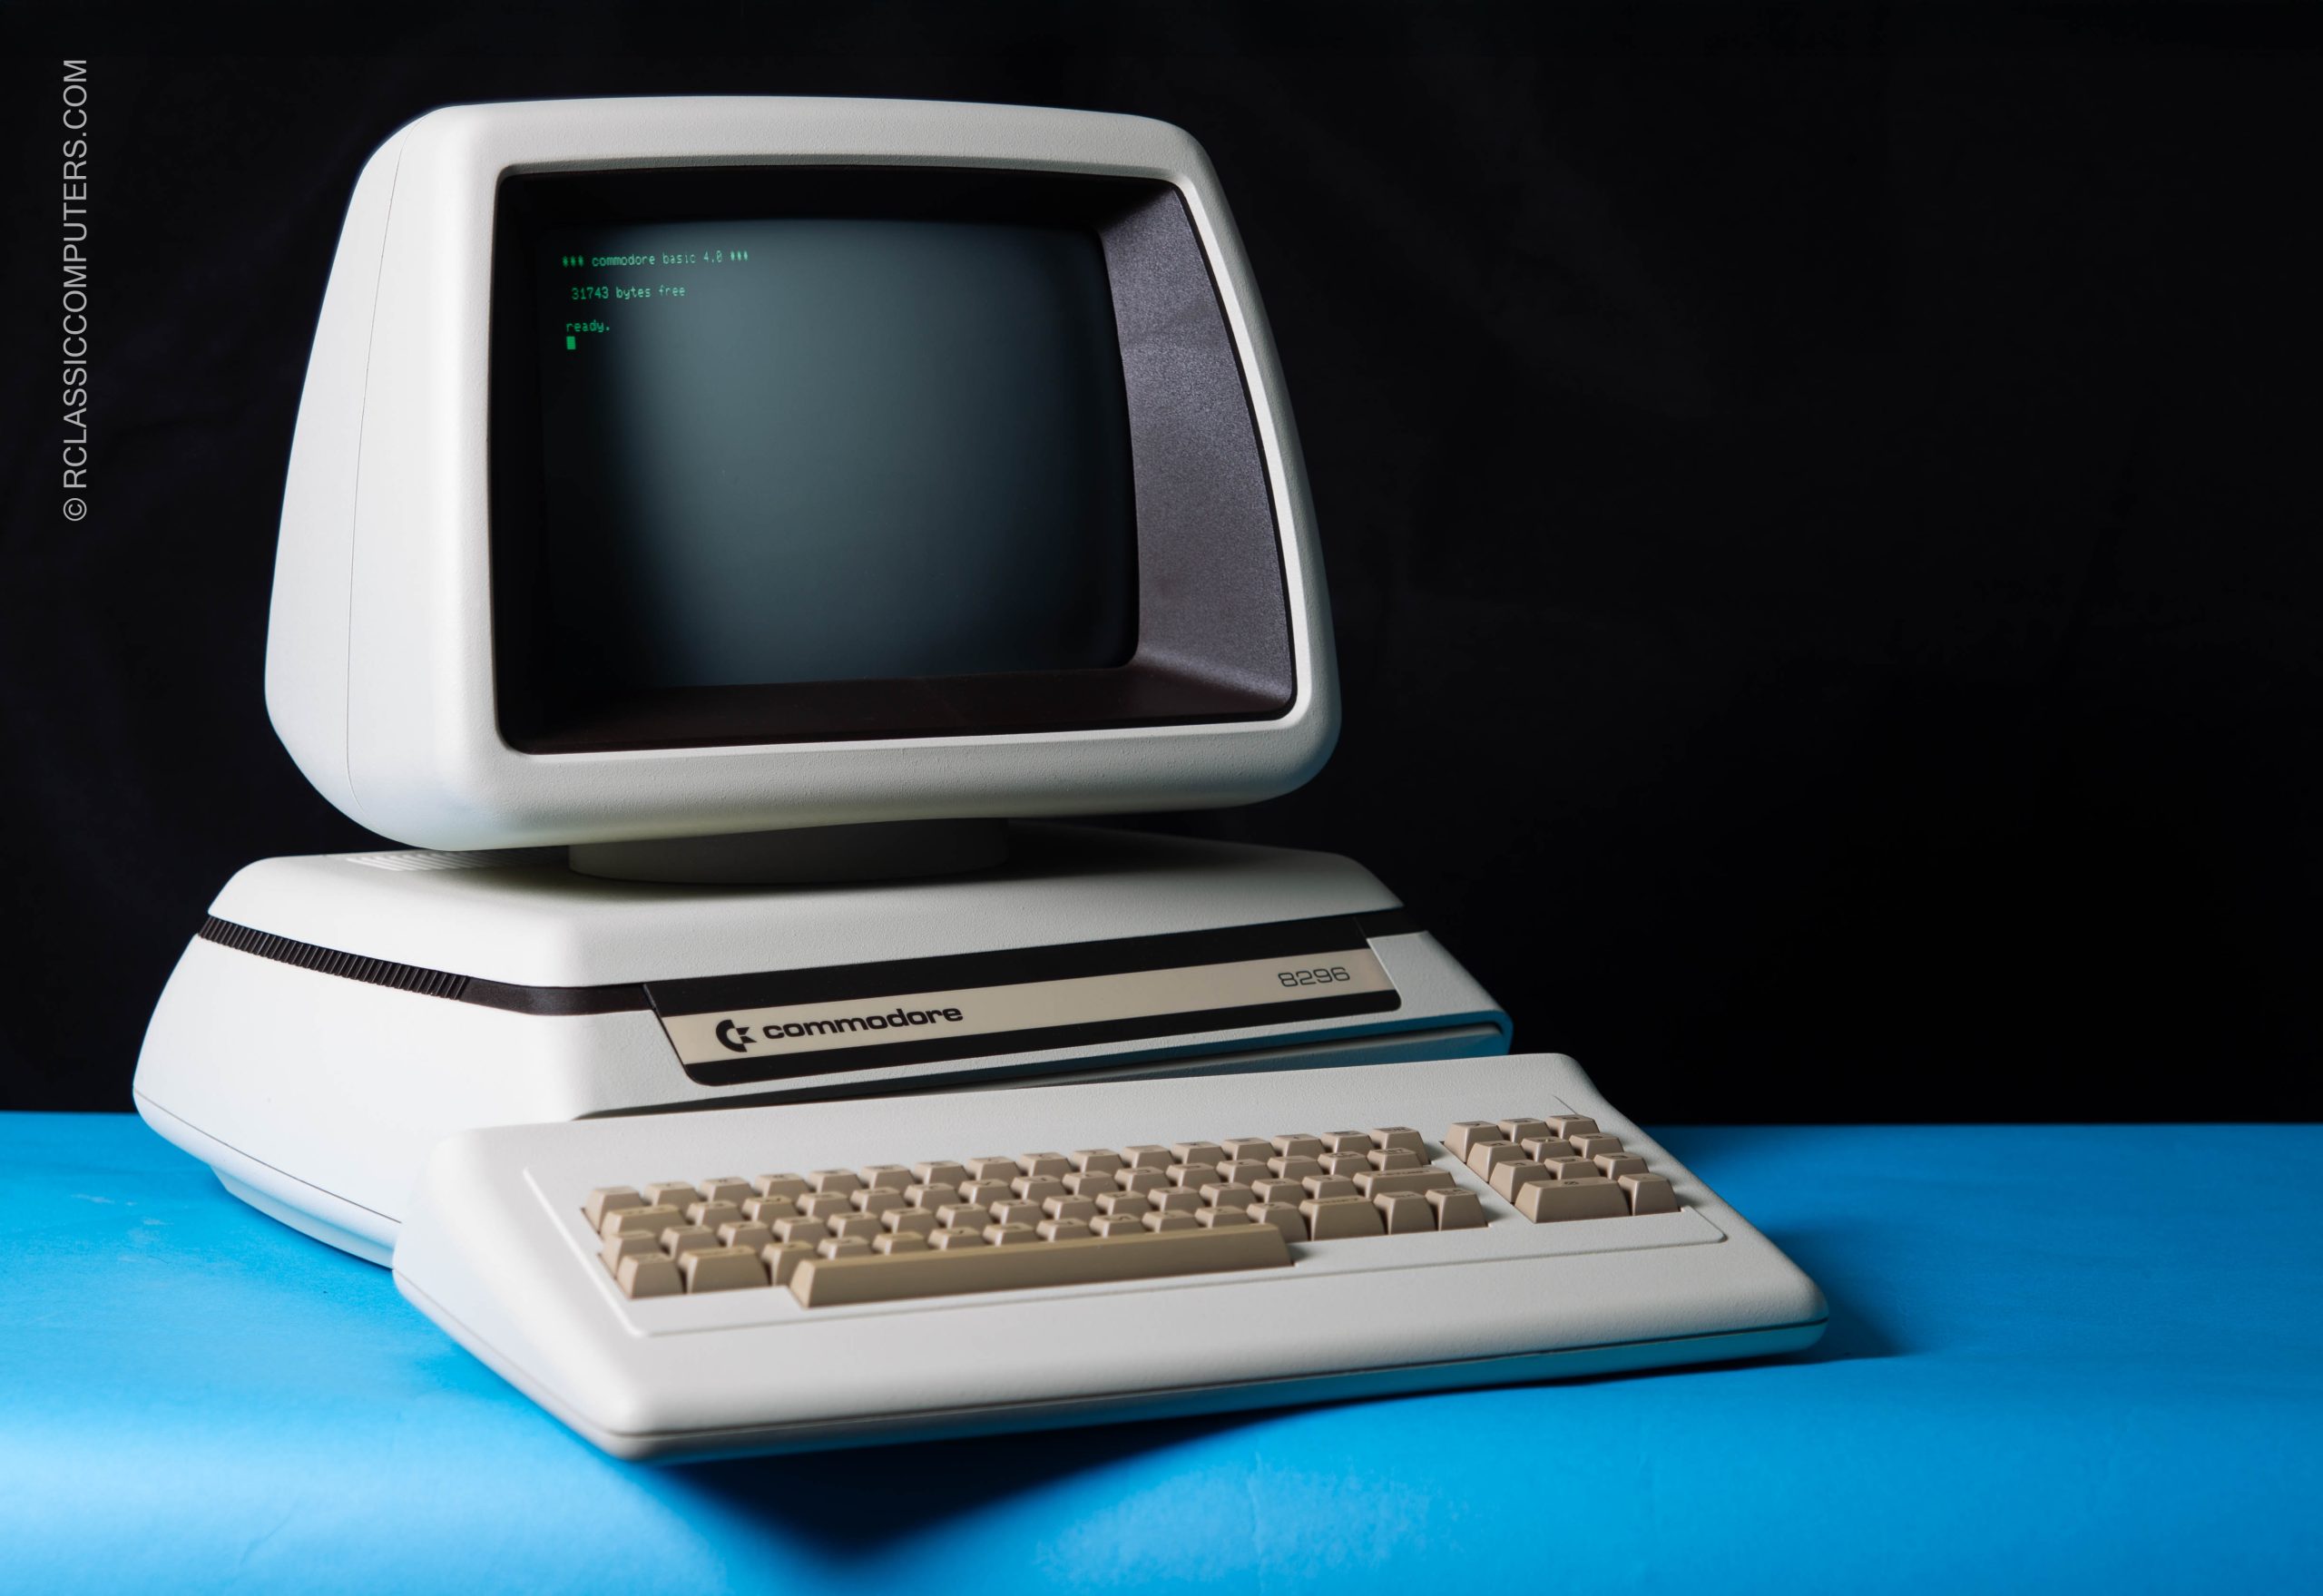
Due to demand, the original CBM/PET machines were revived and fitted into the CBM-II case design. These were known as the SK’s (separated keyboard). The keyboard is detachable and they also had a monitor with a swivel feature. Initially, CBM 8032 and CBM 8096 (64KB extension memory board) were retrofitted into these cases.
Later the SK models got a new redesigned mainboard that already included the 64 kB or 96KB banked extension memory directly on the board. These were the CBM 8096 (32KB + 64KB memory) and CBM 8296 (32KB + 96KB memory).
The ultimate model was the CBM 8296-D with a built-in 8250LP (low profile) quad-density dual disk drive with a whole 1 MByte on each 5.25″ floppy. This model was only for the European market.
My Commodore CBM-8296
My CBM 8296
I bought mine locally here in Norway, it was a local pickup.
Cleaning and scrubbing As usual I started with throughout cleaning, outside and inside, main unit and keyboard.
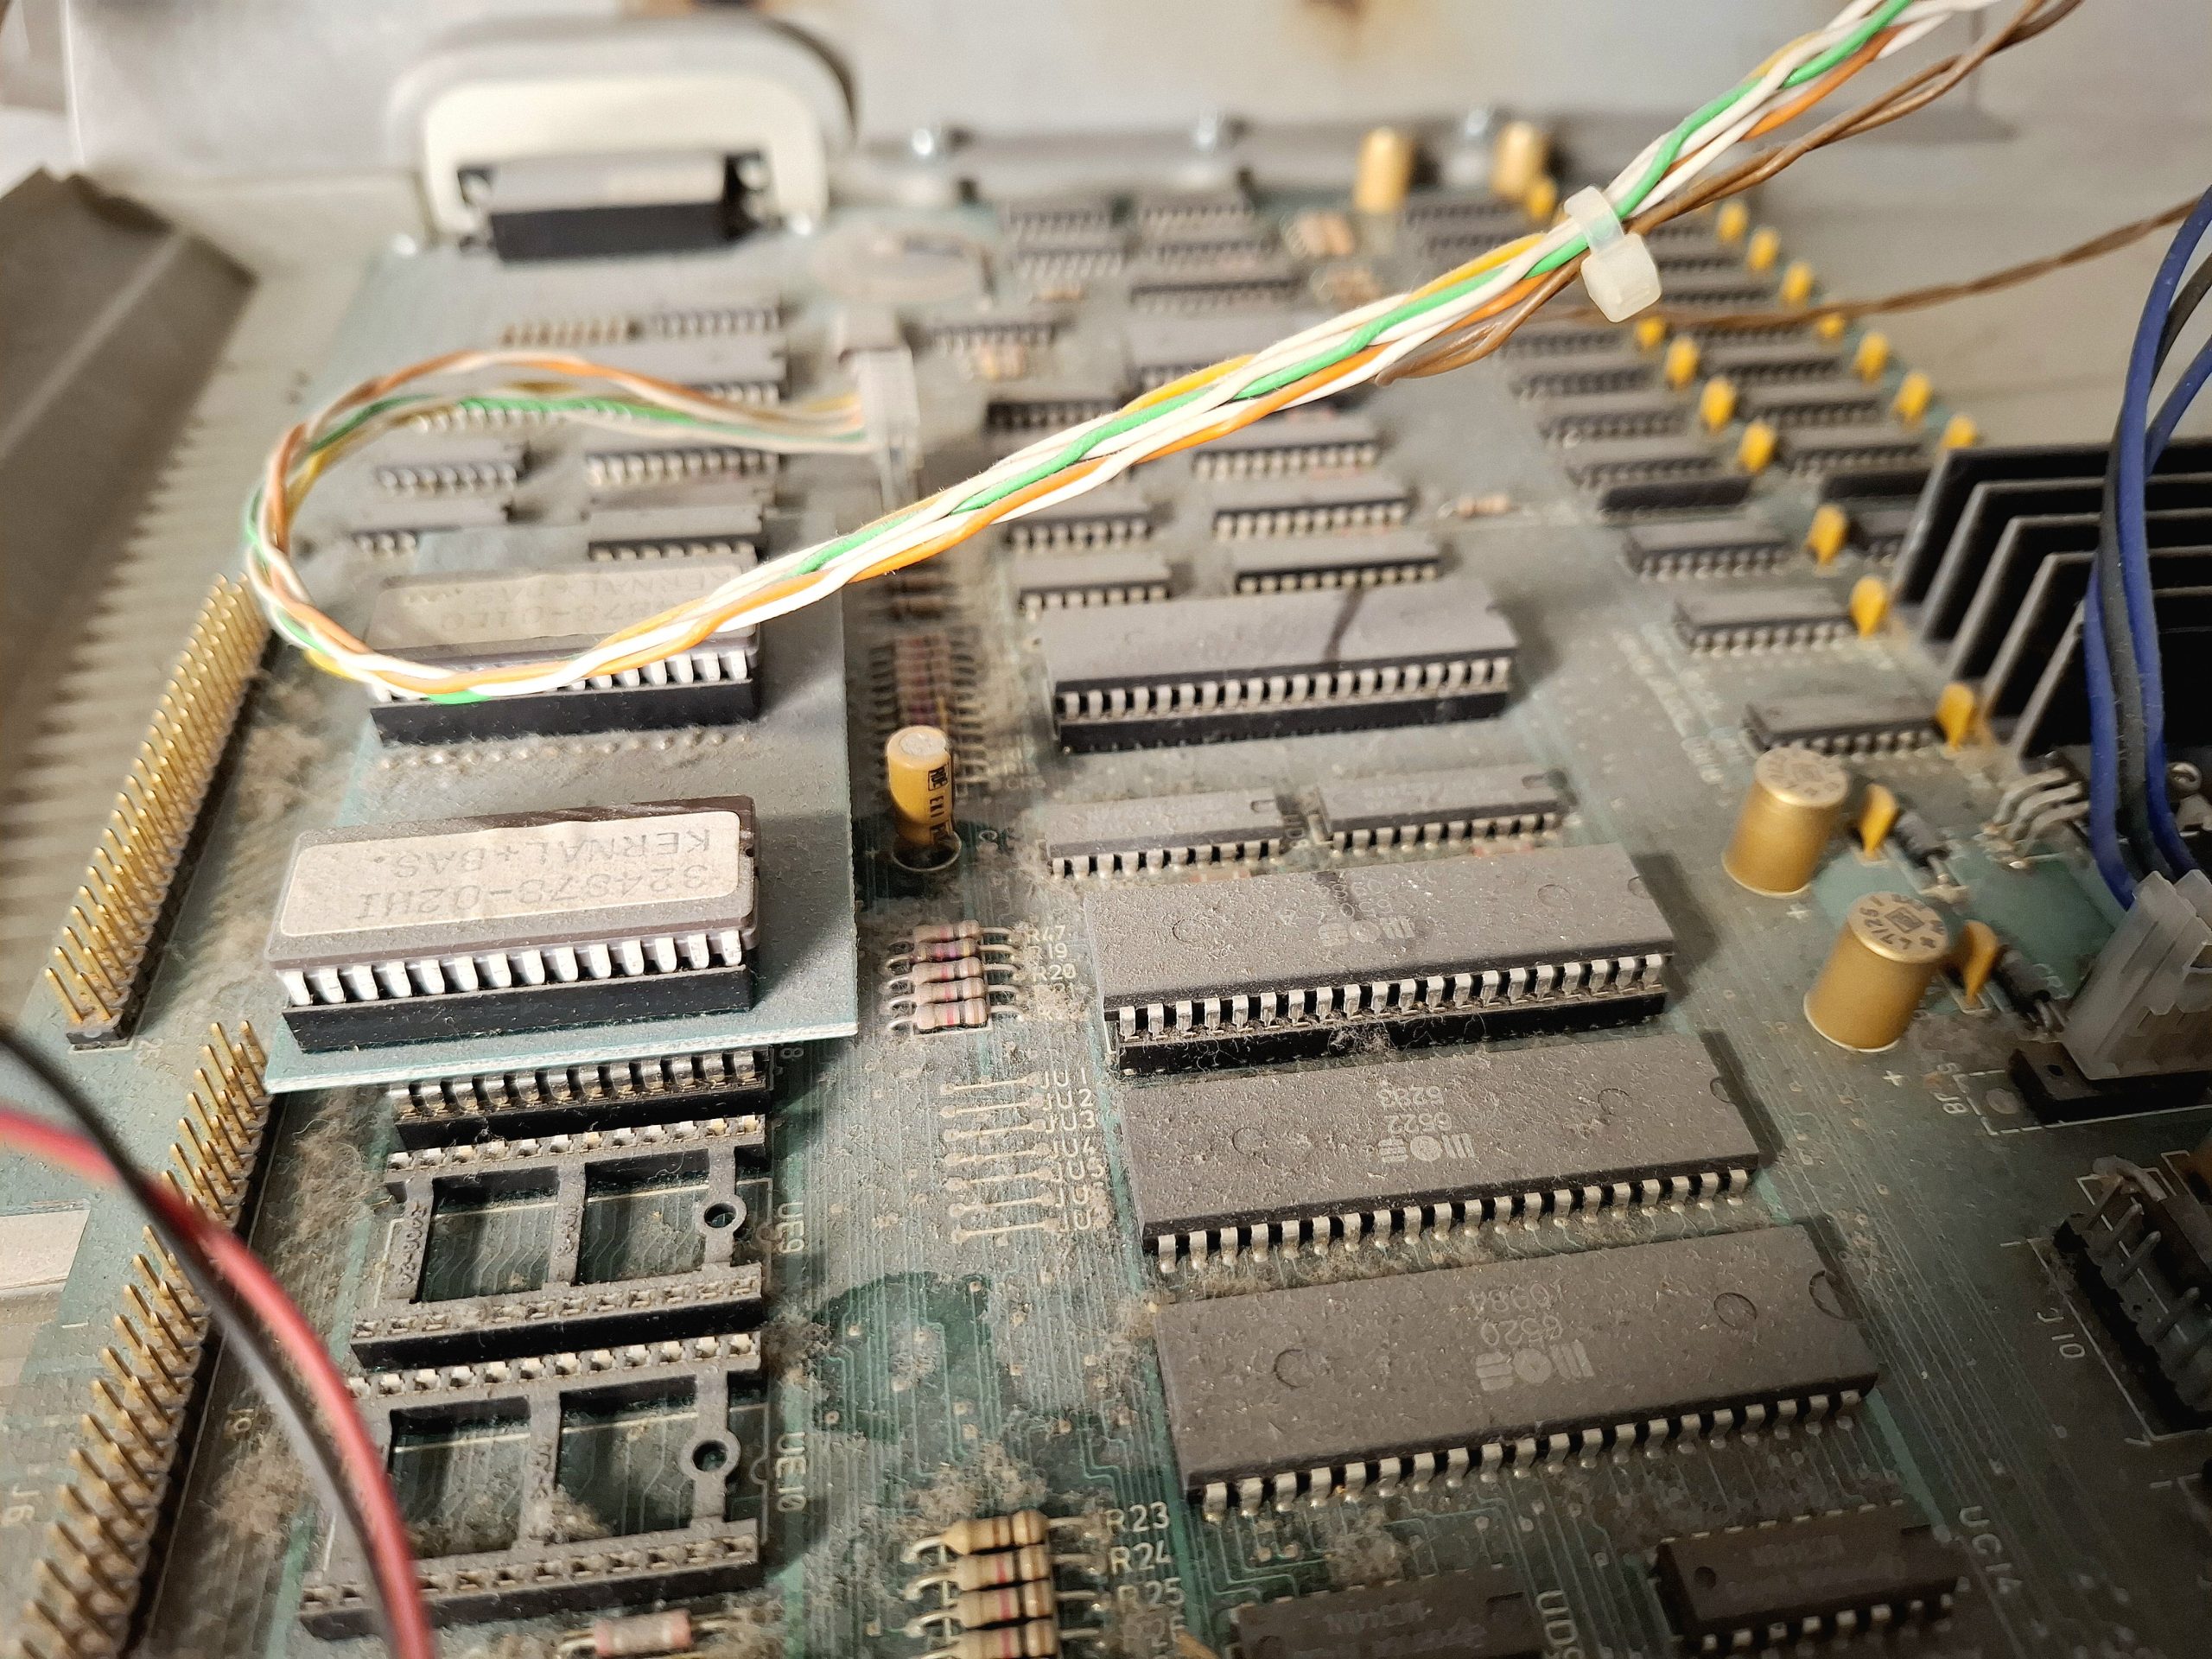
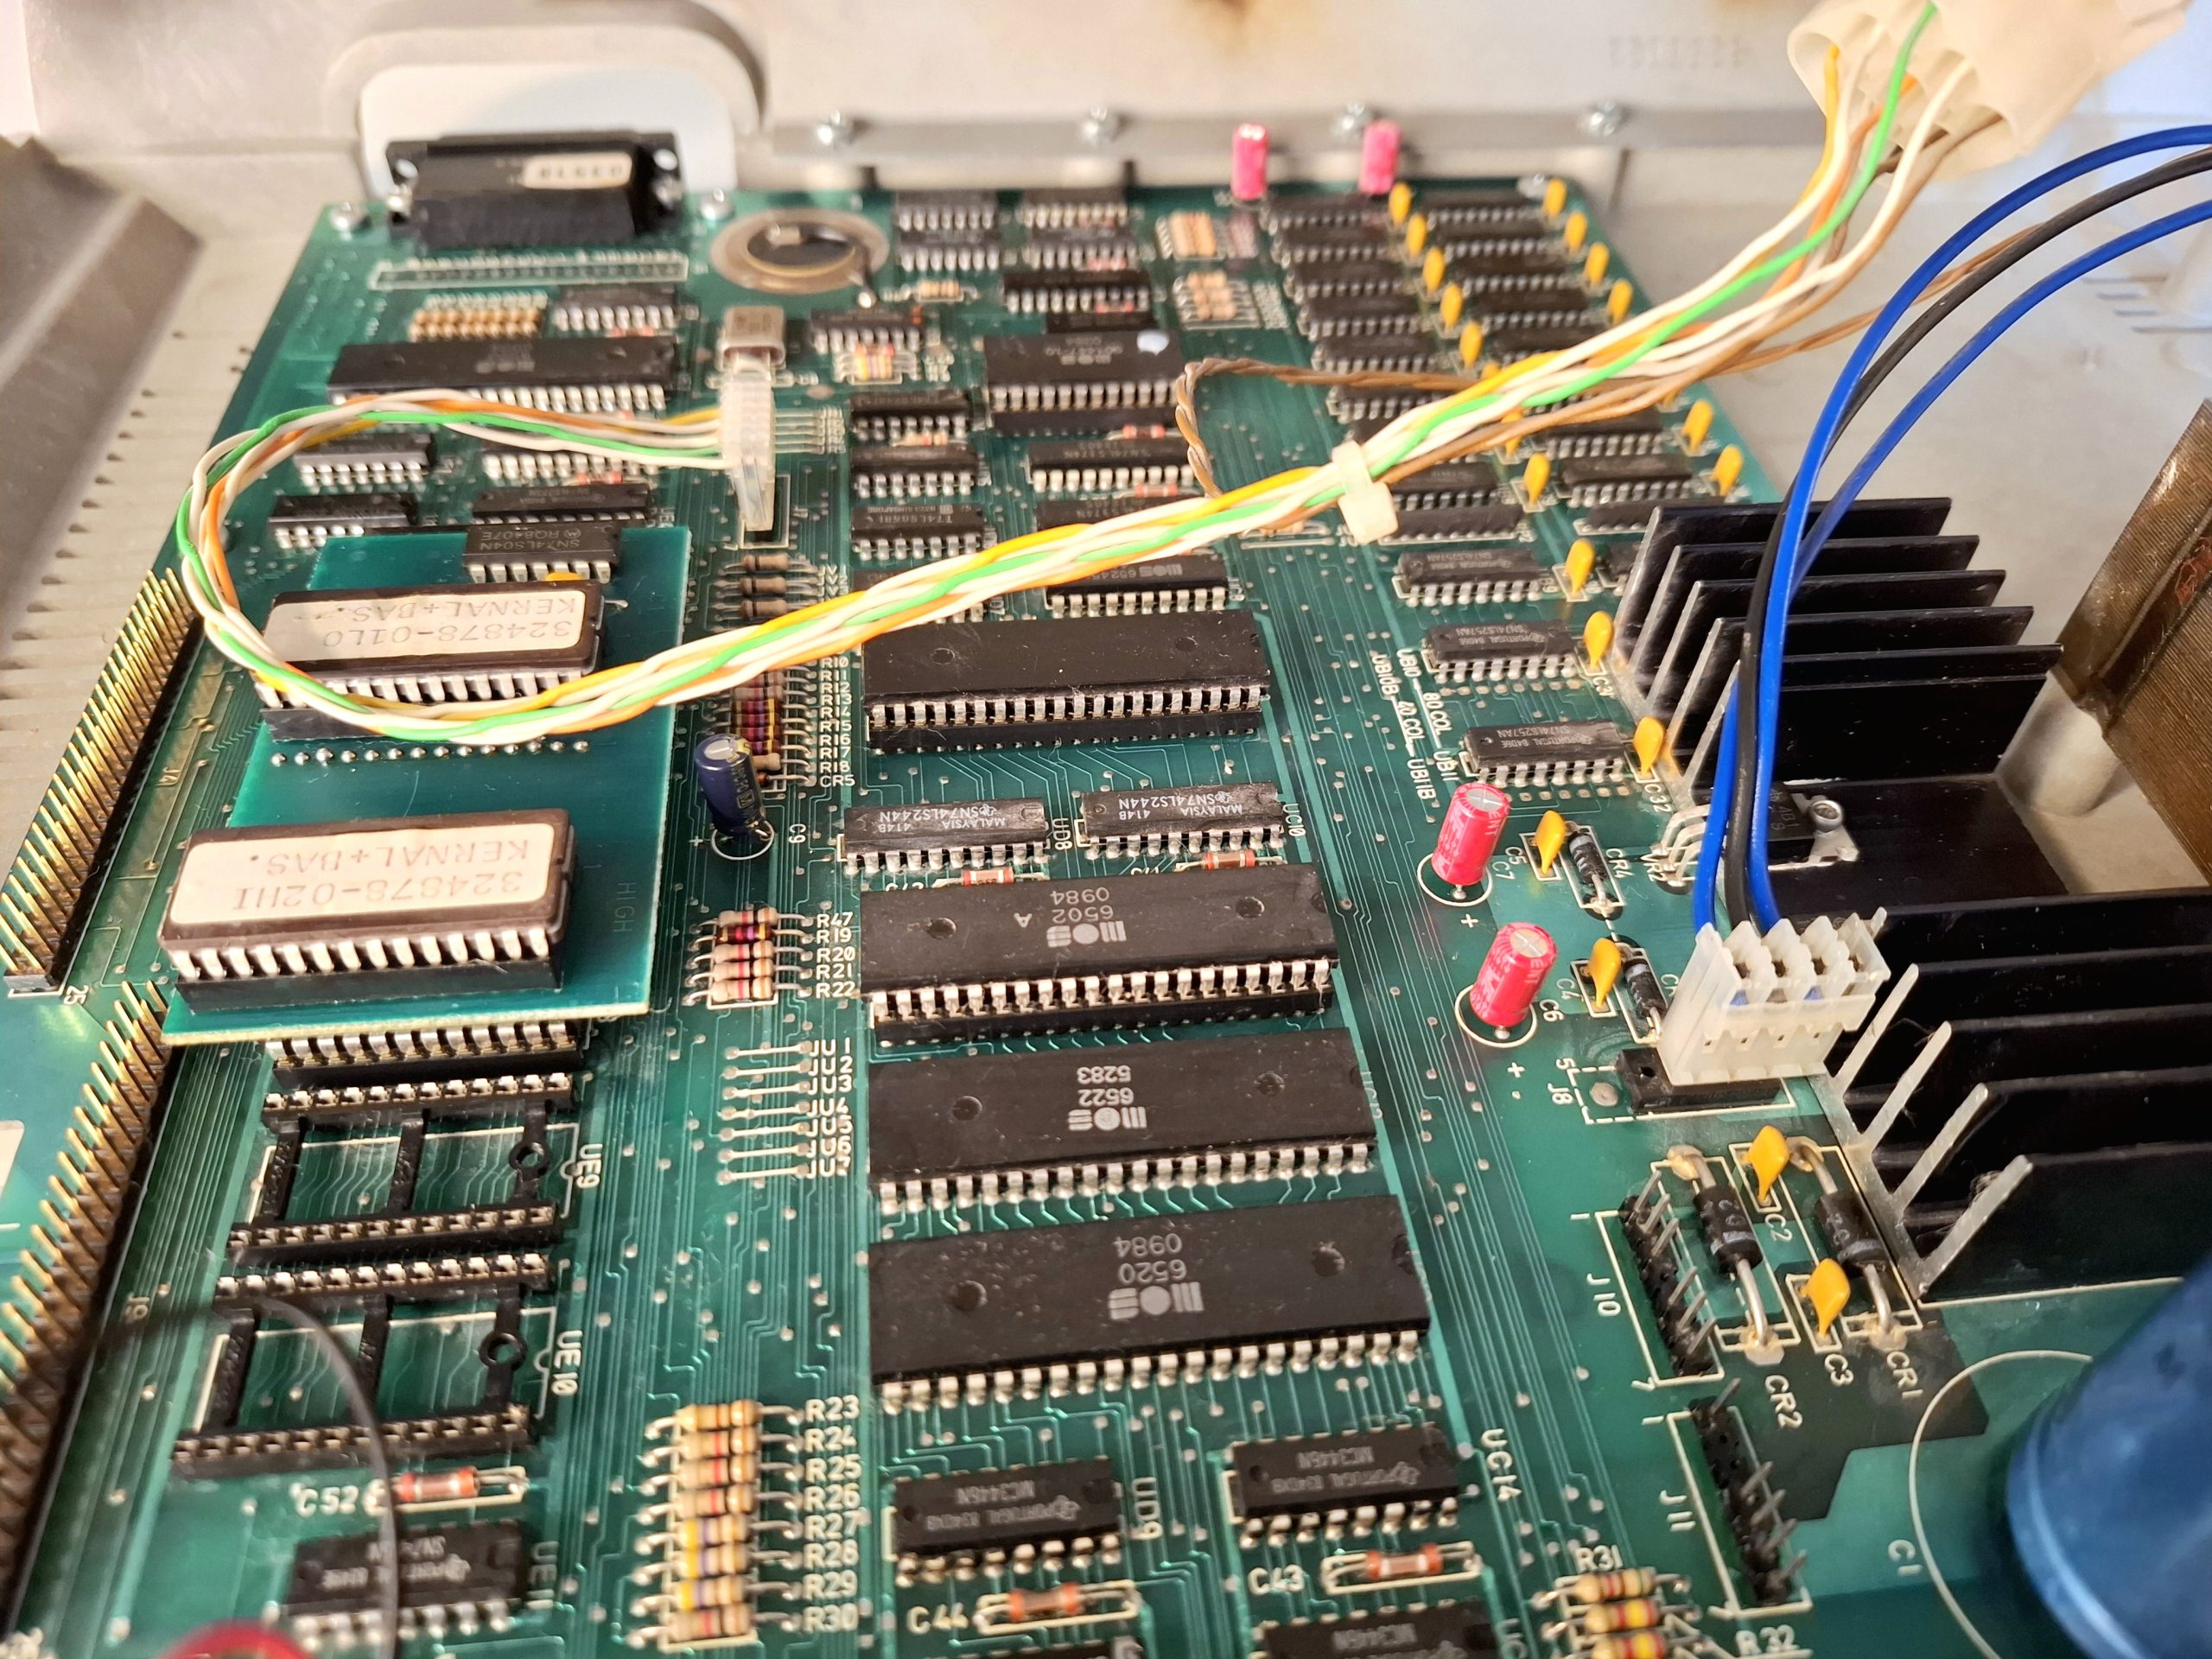
Inside my CBM 8296 before cleaning
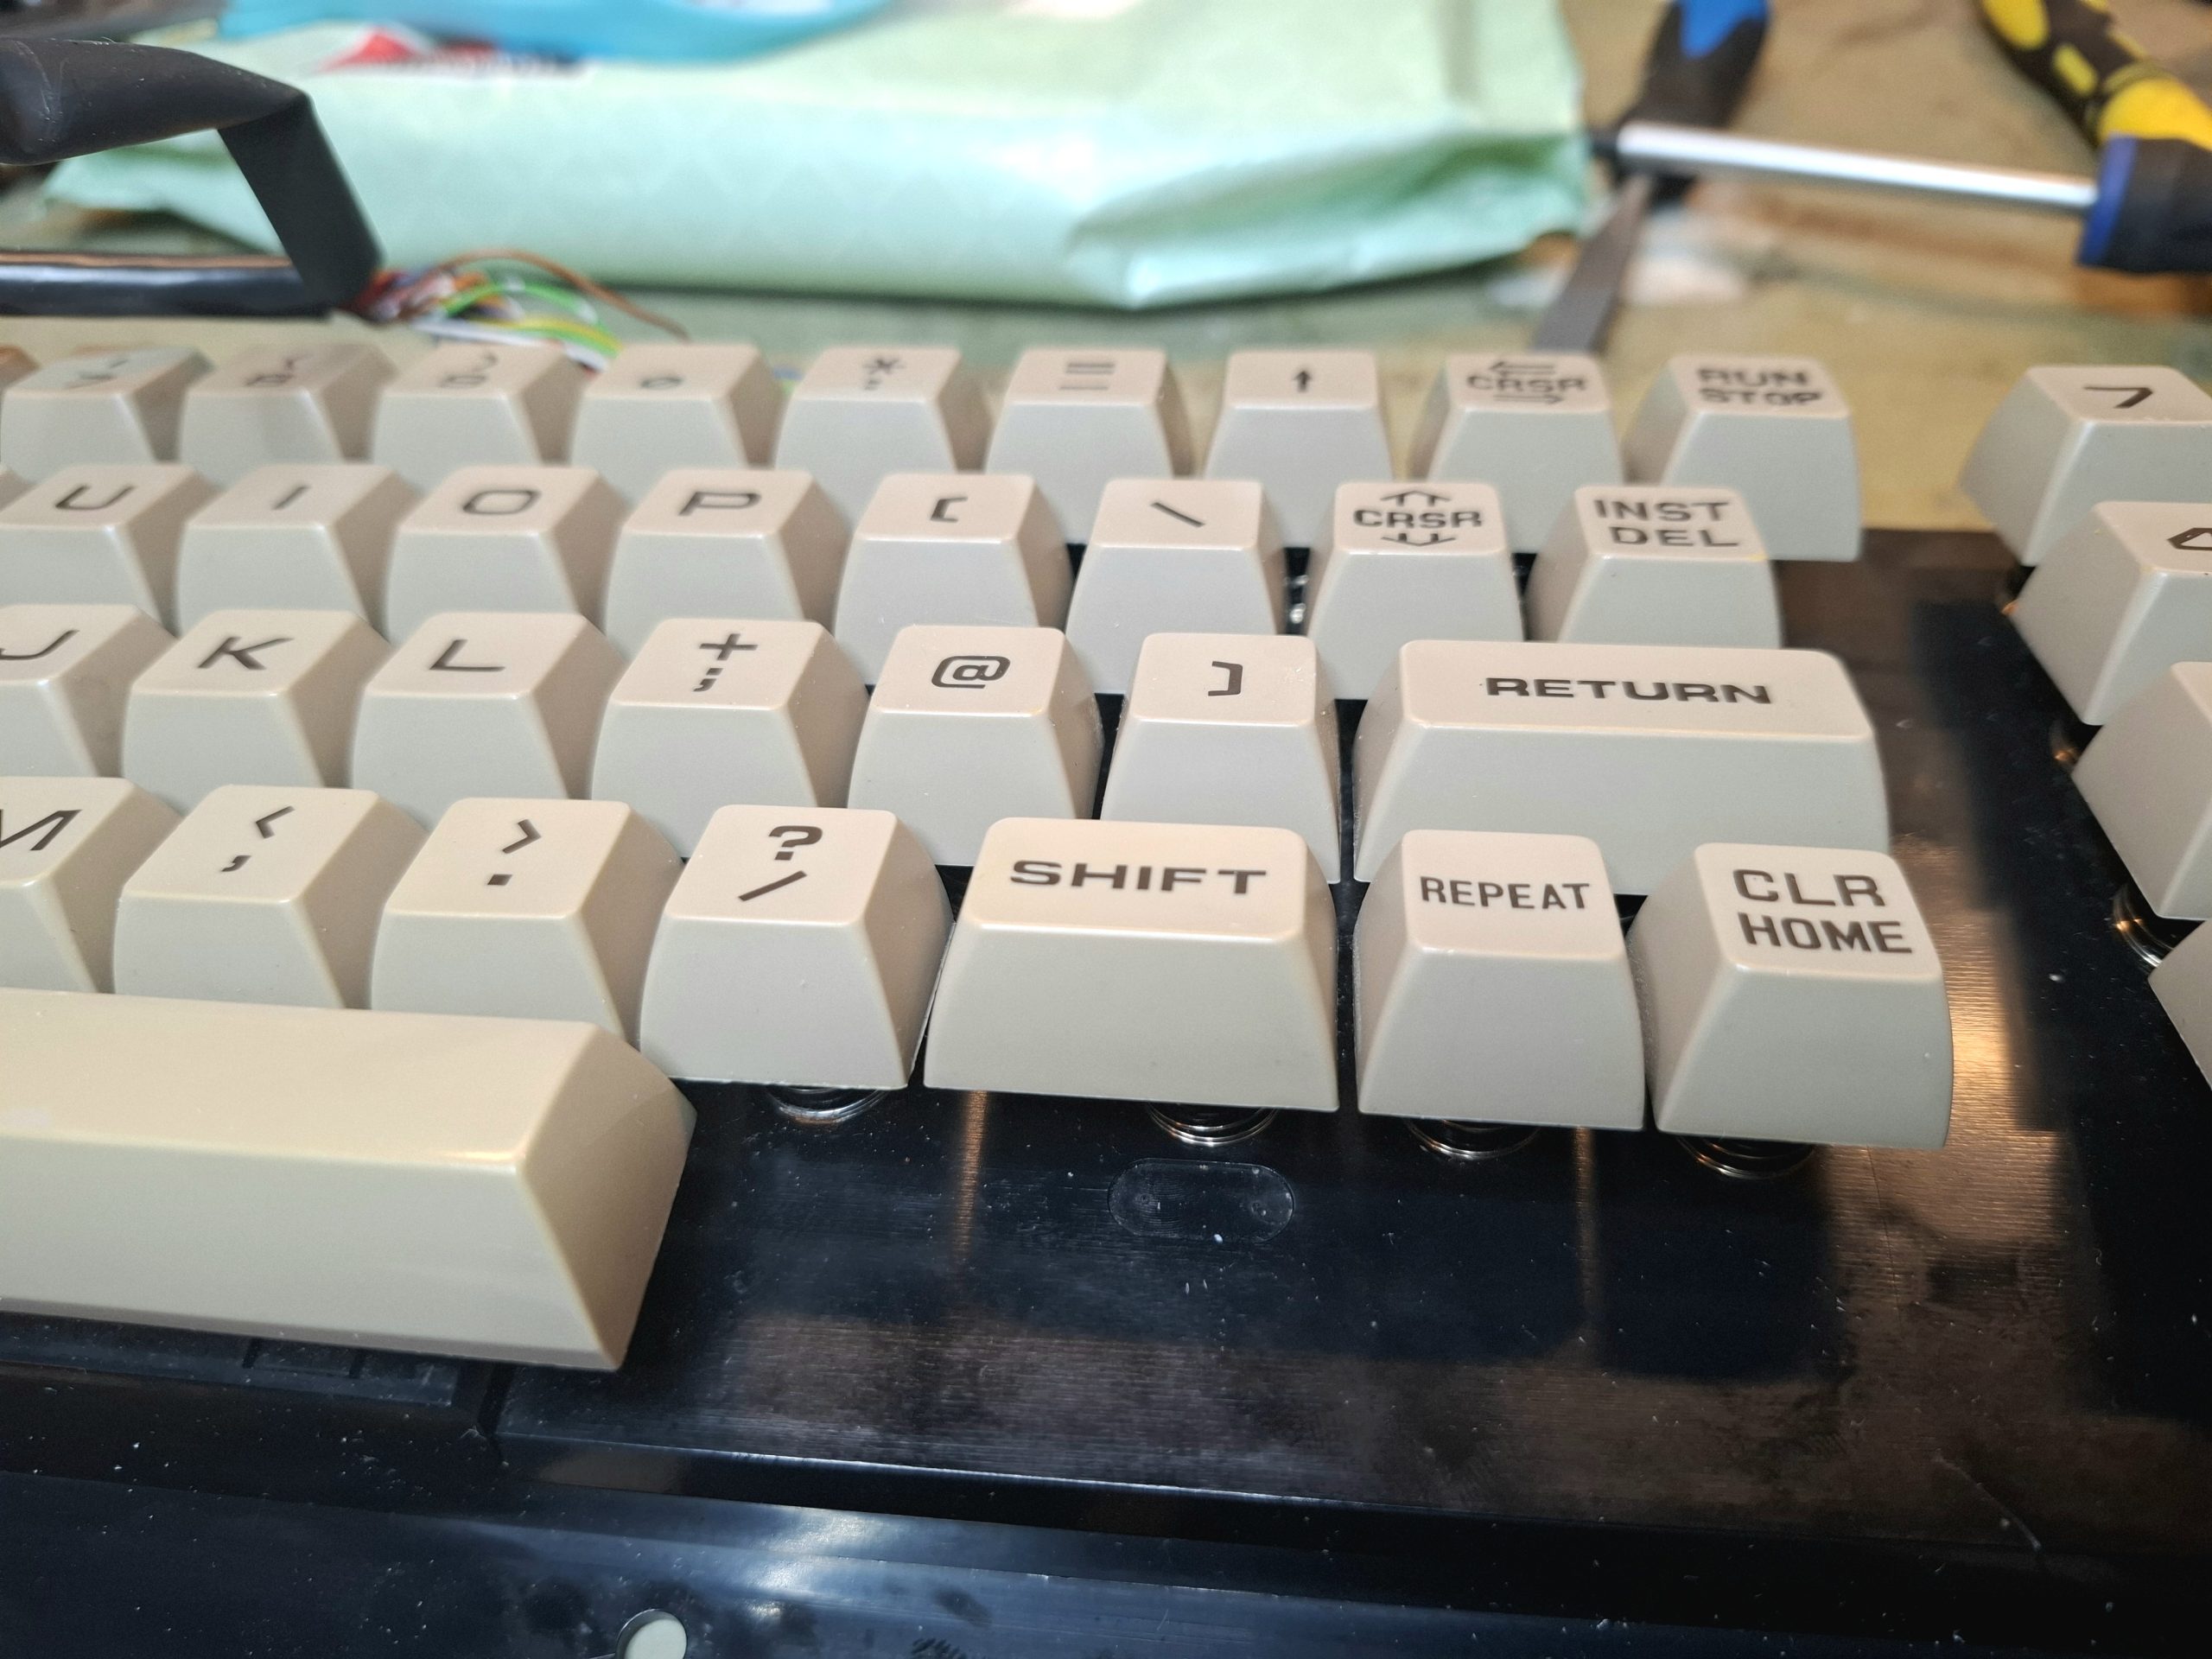
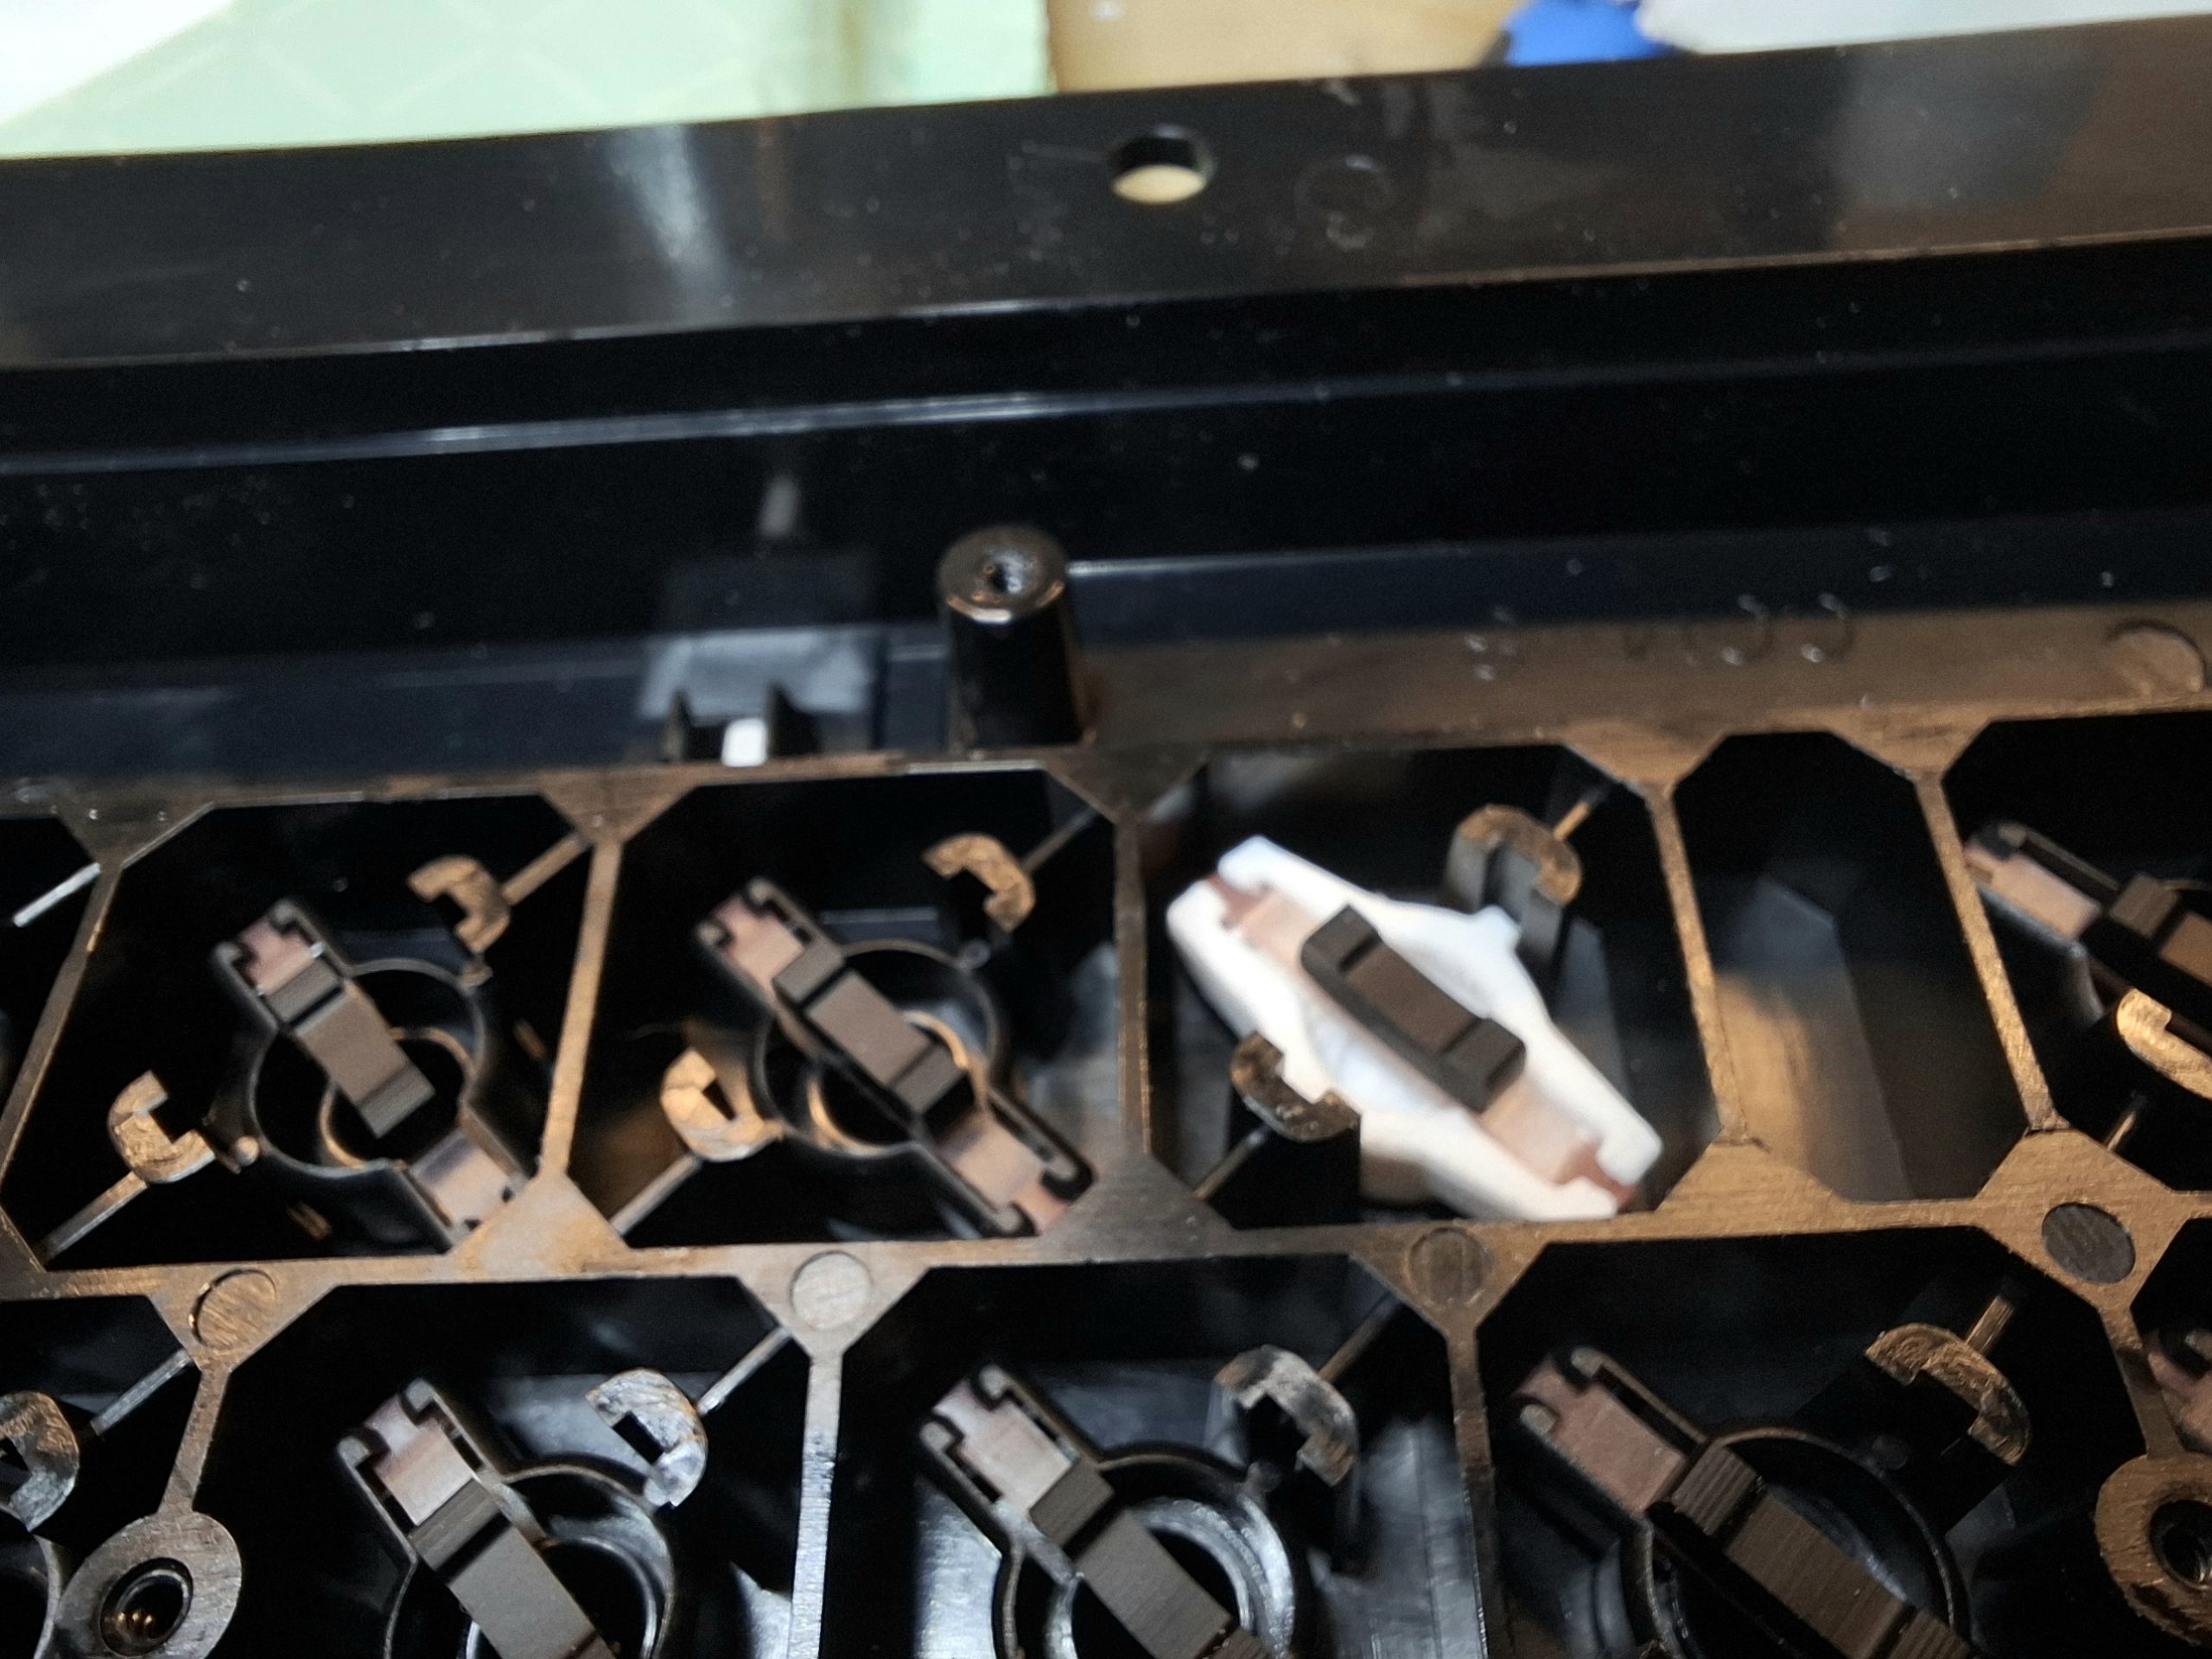
Keyboard One of the keycaps had an internal part broken, the plunge. This seemed attempted disguised as it was loosely glued on, but the glue had not hardened, also the coil spring was missing. I took the keyboard completely apart, except for the broken plunge, this keyboard has no sign of wear and tear. I removed the broken piece of the plunge that was left, using a pick, also a small drill can probably be used for this. Next step was to 3D print a new plunge, this worked. But I found that I had a Commodore 64G machine that uses the same plunges, so I ended up using the 3D printed part in the C64G instead, and use the plunge from the C64 in the CBM 8296 keyboard, to keep this machine as original as possible. There are many of these machines to be found with the keyboard missing. As its loose, it seems to often has been lost over the years of storage and moving around. The spring coil is also the same as used in C64, so I got a spare one to use.The keyboard now feels and works as new, probably this machine has seen little use during its lifetime.
CBM 8296 keyboard – dismantled
CBM 8296 keyboard – 3D printed keycap plunge
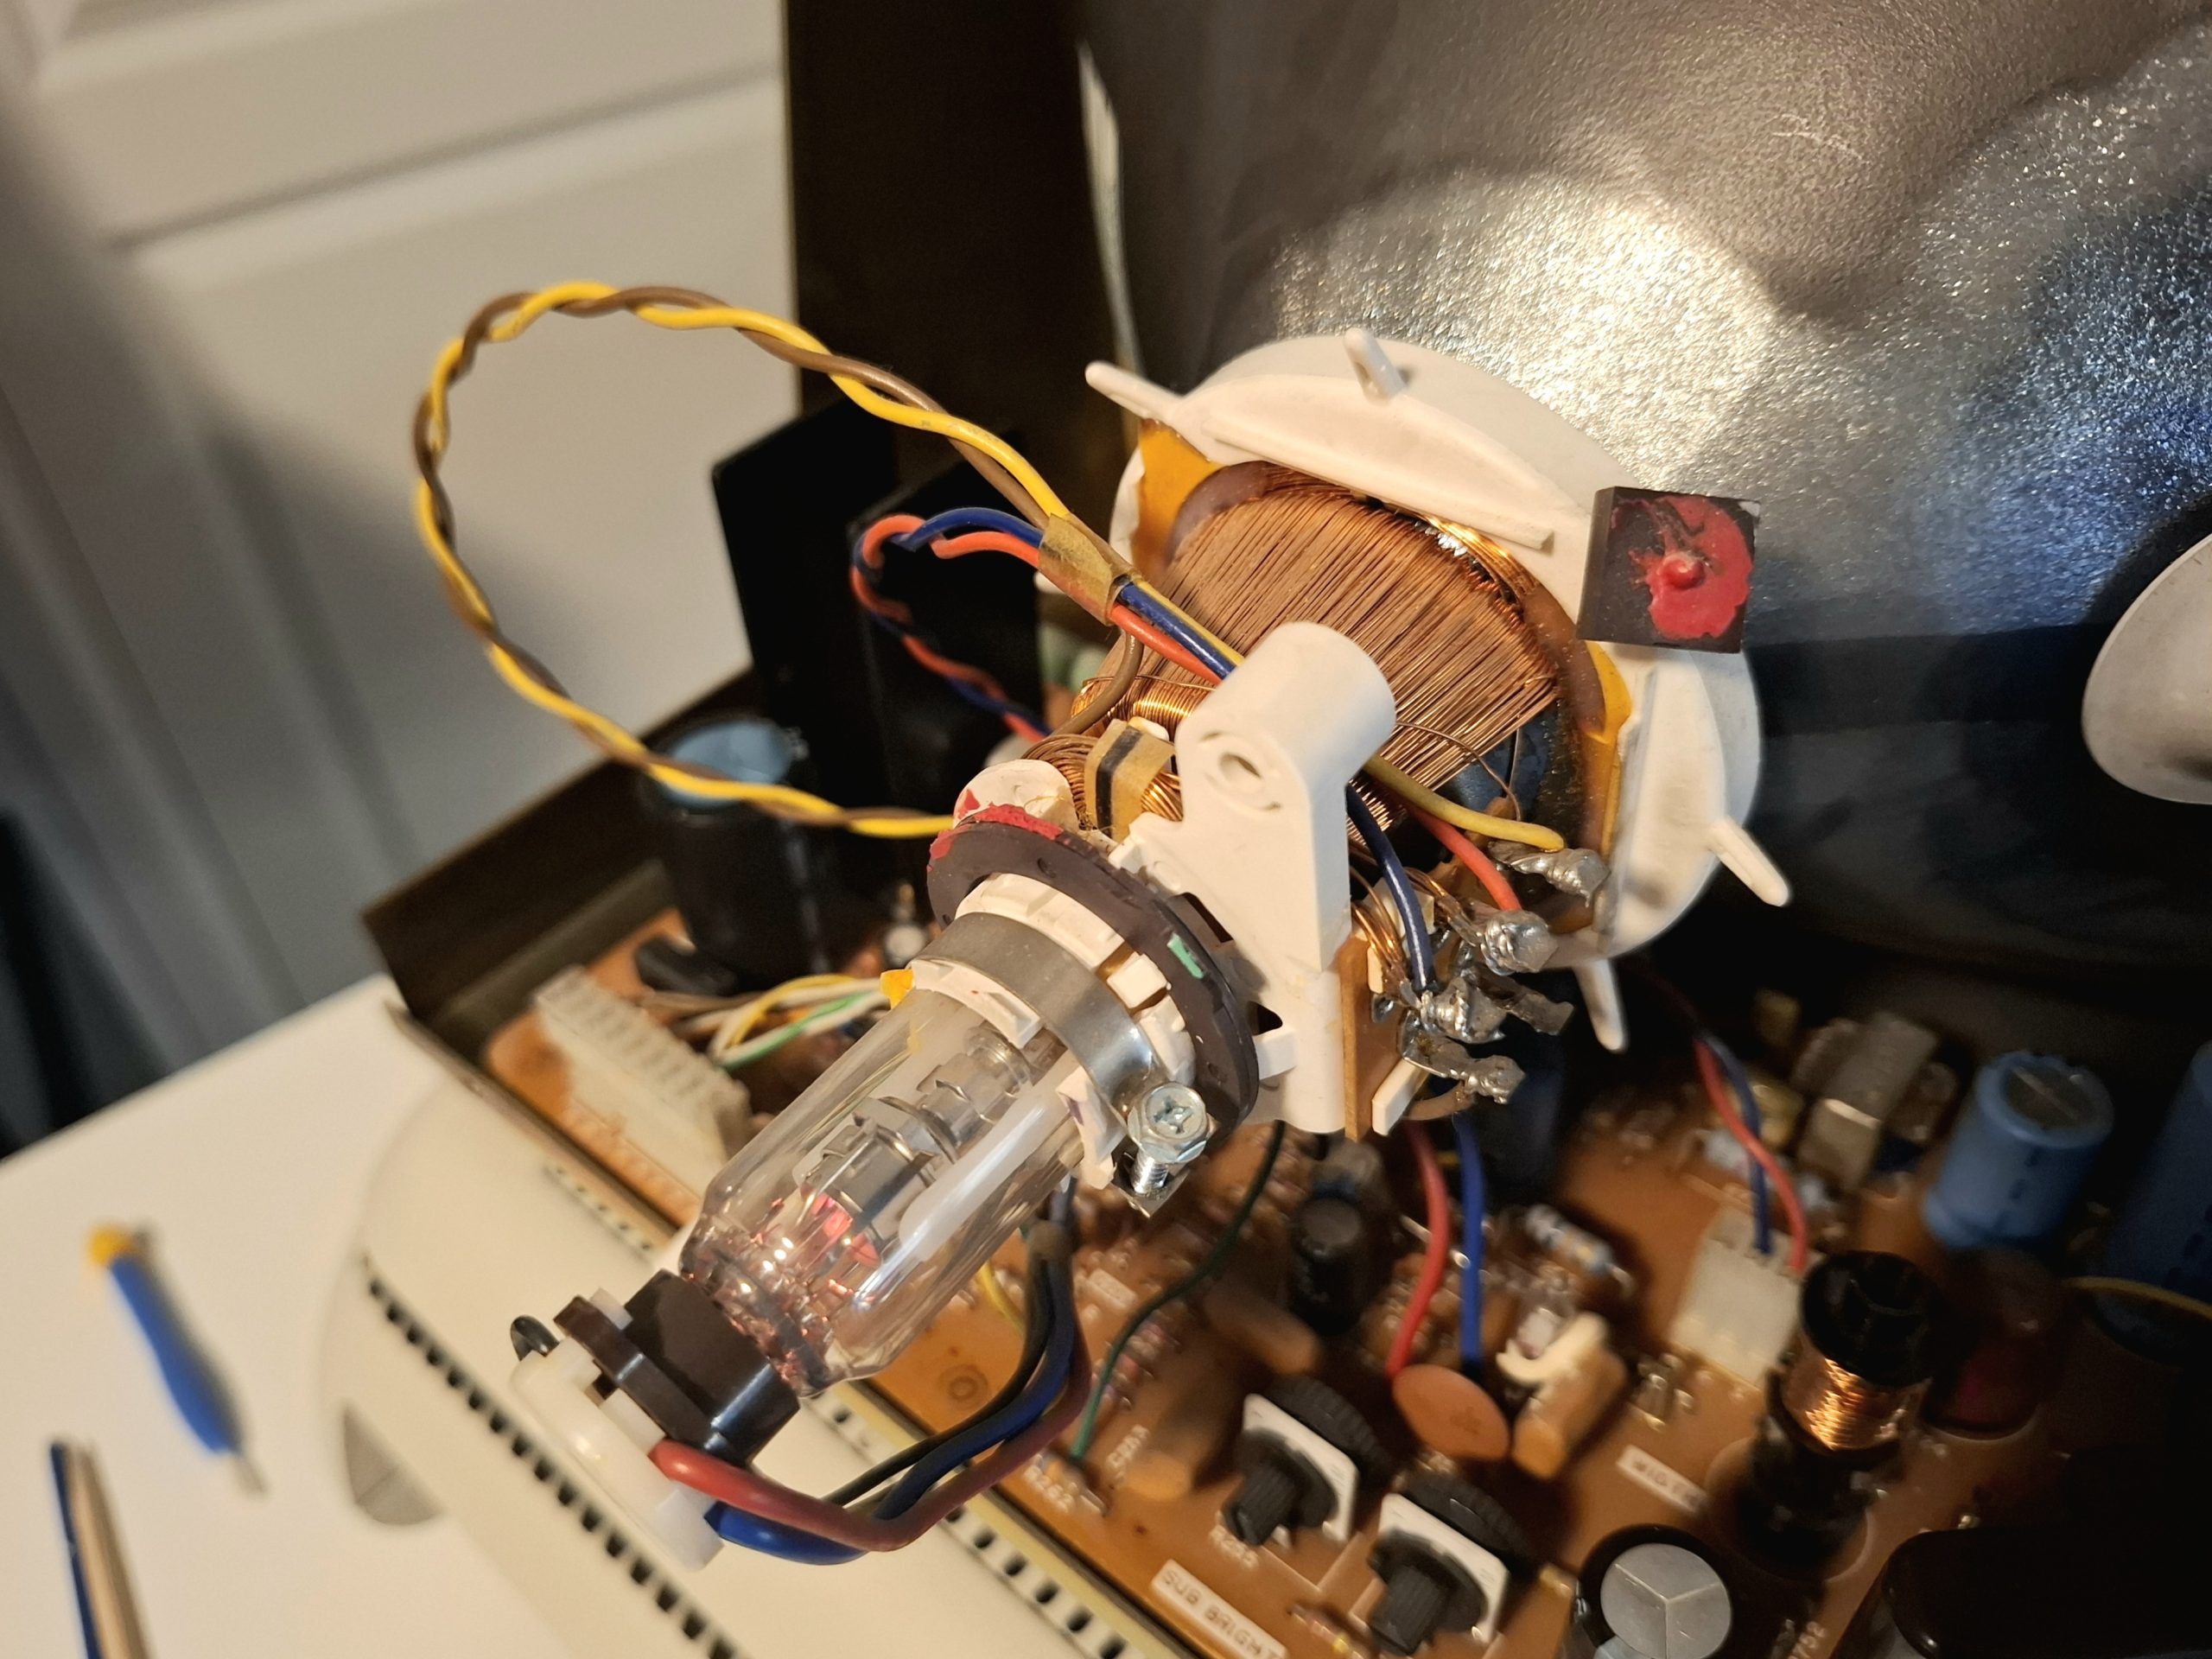
Monitor adjustment The display was a little bit tilted and also the position and size was a little bit off. I’ve corrected the tiltet display by loosening the CRT yoke and rotating it very carefully using a wooden stick and only one hand due to the high voltage present. Then tightened the screws when I was happy with the result. The vertical position was next, adjusted by loosening and rotating the adjustment rings on the crt tube, using a wooden stick and a mirror to see the display when adjusting inside the monitor. Only one hand and using a wooden stick as a precaution for beeing electrocuted. The rest of thw geometry asjustment can be done by adjustment screws.
CBM-8296- adjusting the monitor geometry
Replace capacitors I’ve replaced the old electrolytic capacitors with new ones.
CBM-8296 – cleaned and new capacitors in place
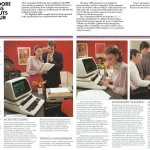
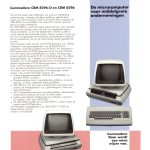
CBM 8296 sales brochure
CBM 8296 sales brochure
CBM 8296 brochure – W. Germany
CBM 8296
Remi Jakobsen
I'm collecting classic computers and video games, stretching from the 70's into the 90's. Restoration, history, usage ...
Contains information related to marketing campaigns of the user. These are shared with Google AdWords / Google Ads when the Google Ads and Google Analytics accounts are linked together.
90 days
__utma
ID used to identify users and sessions
2 years after last activity
__utmt
Used to monitor number of Google Analytics server requests
10 minutes
__utmb
Used to distinguish new sessions and visits. This cookie is set when the GA.js javascript library is loaded and there is no existing __utmb cookie. The cookie is updated every time data is sent to the Google Analytics server.
30 minutes after last activity
__utmc
Used only with old Urchin versions of Google Analytics and not with GA.js. Was used to distinguish between new sessions and visits at the end of a session.
End of session (browser)
__utmz
Contains information about the traffic source or campaign that directed user to the website. The cookie is set when the GA.js javascript is loaded and updated when data is sent to the Google Anaytics server
6 months after last activity
__utmv
Contains custom information set by the web developer via the _setCustomVar method in Google Analytics. This cookie is updated every time new data is sent to the Google Analytics server.
2 years after last activity
__utmx
Used to determine whether a user is included in an A / B or Multivariate test.
18 months
_ga
ID used to identify users
2 years
_gali
Used by Google Analytics to determine which links on a page are being clicked
30 seconds
_ga_
ID used to identify users
2 years
_gid
ID used to identify users for 24 hours after last activity
24 hours
_gat
Used to monitor number of Google Analytics server requests when using Google Tag Manager
1 minute
You can find more information in our Cookie Policy and .